Changing the Properties of an Element
Go Up to Session 3: Creating a Business Process Model Diagram
When you double-click on an element, the Property View for that element opens. You can use the Property View to:
- Change the name or properties of an element.
- Enter a description and notes for the element, if applicable.
- View any links or usages that have been created to the element.
- View the Impact Analysis report.
- View the Usage (CRUD) report.
- Change the appearance of the object.
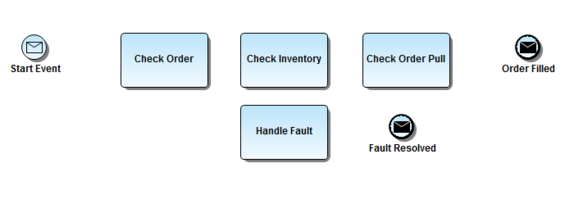
For purposes of this diagram, we are going to rename the End Event and change the Triggers type to a Message End Event.

- Double-click the End Event object in the Diagram View to open the Property View.
- On the General tab, change the name to “Order Filled”.
- Click the Triggers tab and then click the Message icon (
 ). The End Event is now a Message End Event.
 - To place a second Message End Event in the diagram, expand the Business Process Objects palette and click the drop-down arrow next to the End Event icon.
- Select Message End Event from the list and place it to the right of the “Handle Fault” task in the diagram.
- Rename this End Event “Fault Resolved” by clicking once on the End Event label to change it to an editable field.
- We are going to place an error intermediate event on a task which shows that if an error occurs, the flow will take you to the Handle Fault task where the error will be corrected.
- On the Business Process palette, click the drop-down arrow on the Intermediate Event icon (
 ) and select the Error Intermediate Event (
 ) from the list.
 - Place the event on the lower edge of the task labeled “Check Order”. The icon is now docked to the task.

