Project Manager (IDE Tutorial)
Go Up to Tools Index (IDE Tutorial)
To build an application or a DLL using RAD Studio, you need to create a project. The Project Manager displays a hierarchical file list of your project or project group, so you can view and organize the files in the project or project group.
You can use the Projects Window to combine and display information on related projects into a single project group. By organizing related projects into a group, such as multiple executables, you can compile them at the same time. You can also set project options to resolve the dependencies between projects.
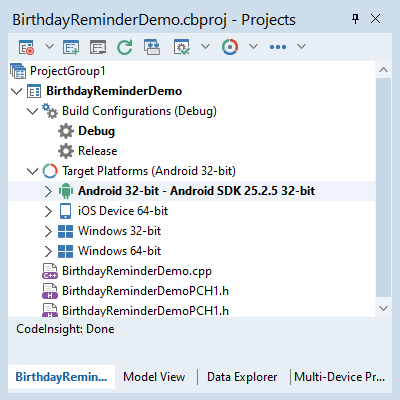
Figure 2-13. Hierarchical file list of the project, displayed by the Project Manager
The buttons at the top of the Projects Window enable you to perform the following tasks:
- Activate — Activates the currently selected project.
- New — Adds another project to the current project group. If only one project currently exists, a project group is created for you automatically.
- Remove — Removes a project from the current project group.
- Sync — Synchronizes the project manager with the medium where the actual project or project group files are stored.
- Build Groups — Open Build Groups pane.
- Set active configuration — Sets the active build configuration.
- Set active platform — Sets the active target platform.
- More options - Options to Expand or Collapse the features list, View options, and Sorting options.