User:Maria/Mobile Tutorial: Taking and Sharing a Picture, and Sharing Text (iOS and Android)
Go Up to Mobile Tutorials: Mobile Application Development (iOS and Android)
Contents
Before starting this tutorial, you should read and perform the following tutorial:
This tutorial covers the following typical tasks for using pictures and sharing text with your applications in mobile platforms.
On iOS Devices:
|
Taking a picture with the device camera |
Using a picture from the device Photo Library |
|
Sharing or printing a picture |
Sharing text |
On Android Devices:
|
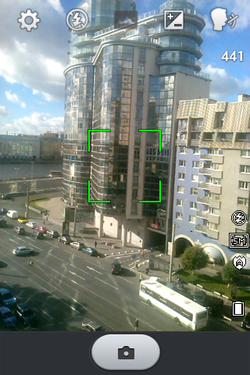
Taking a picture with the device camera |
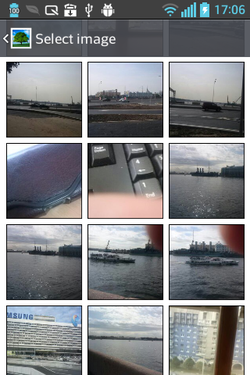
Using a picture from the device Photo Library |
|
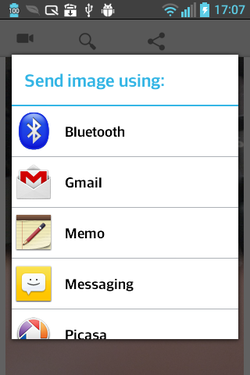
Sharing or printing a picture |
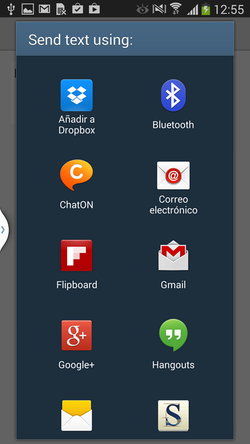
Sharing text |
This functionality is provided as Actions, and you need to write only one line of code for each task.
An action corresponds to one or more elements of the user interface, such as menu commands, toolbar buttons, and controls.
Actions serve two purposes:
- An action can represent properties common to the user interface elements—such as whether a control is enabled or whether a check box is selected.
- An action can respond when a control fires—such as when the user clicks a button or chooses a menu item.
In this tutorial, you learn how to assign actions to user interface elements (such as a button) for each functionality that you want to support.
Building the User Interface for the Application
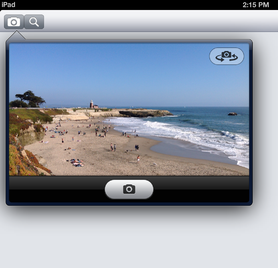
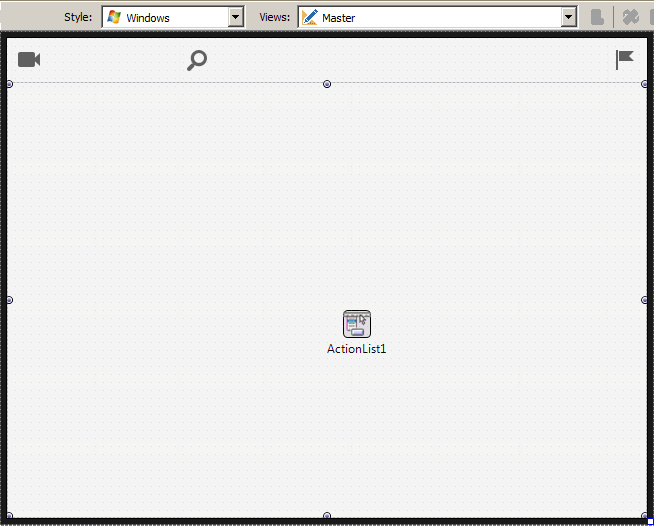
The user interface of this sample application is quite simple, as shown in the following picture:
Place the following components on the Form Designer:
- TToolBar component
- On the toolbar, put three TButton components. Each button uses different icons.
- Set the StyleLookup property for the three buttons to cameratoolbuttonbordered, searchtoolbuttonbordered, and actiontoolbuttonbordered, respectively.
- TImage component
- Set the Align property to Client.
- TActionList component
Taking a Picture with a Mobile Device Camera
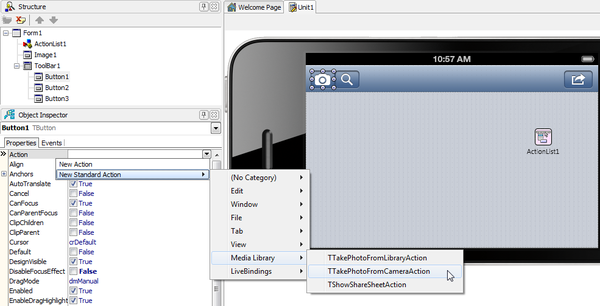
You can define an action to take a photo using the camera on your mobile device. Perform the following steps:
- On the Form Designer, select the button (for taking a photo).
- In the Object Inspector, select the drop-down list for the Action property.
- Select New Standard Action | Media Library | TTakePhotoFromCameraAction:
- On the Events tab, expand the Action node, and then double-click the OnDidFinishTaking event.
- Add the following code to the OnDidFinishTaking event handler:
Delphi:
procedure TForm1.TakePhotoFromCameraAction1DidFinishTaking(Image: TBitmap);
begin
  Image1.Bitmap.Assign(Image);
end;
C++:
void __fastcall TForm2::TakePhotoFromCameraAction1DidFinishTaking(TBitmap *Image)
{
    Image1->Bitmap->Assign(Image);
}
This code assigns a picture taken from the mobile device camera to the Bitmap property of the TImage component.
Using a Picture from the Mobile Device Photo Library
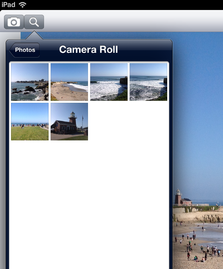
You can define an action to use a photo from the Photo Library with the following steps:
- On the Form Designer, choose the button that you want to use (for picking up a photo).
- In the Object Inspector, click the drop-down list for the Action property and select New Standard Action | Media Library | TTakePhotoFromLibraryAction.
- In the Events tab, expand the Action node, and then double-click the OnDidFinishTaking event.
- Add the following code to the OnDidFinishTaking event handler:
Delphi:
procedure TForm1.TakePhotoFromLibraryAction1DidFinishTaking(Image: TBitmap);
begin
  Image1.Bitmap.Assign(Image);
end;
C++:
void __fastcall TForm2::TakePhotoFromLibraryAction1DidFinishTaking(TBitmap *Image)
{
   Image1->Bitmap->Assign(Image);
}
The code above assigns a picture taken from the Photo Library to the Bitmap property of the TImage component.
Enabling Image Editing
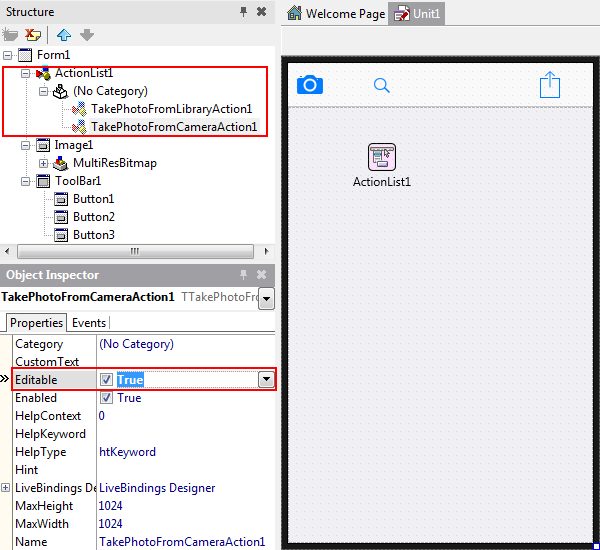
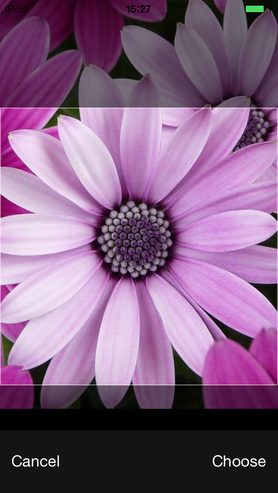
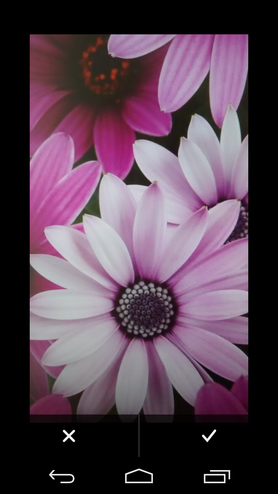
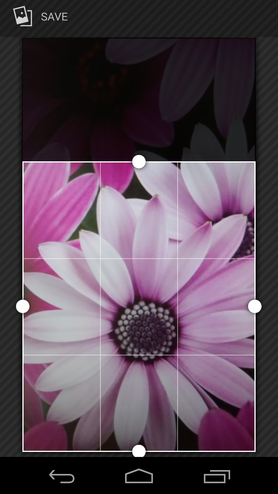
You can enable the Editable property of the actions TTakePhotoFromCameraAction and TTakePhotoFromLibraryAction to allow resizing and cropping the image after taking or loading it.
To use the Editable property follow the steps:
- On the Structure panel, go to the action:
- ActionList1 > Media Library > TakePhotoFromCameraAction1
- ActionList1 > Media Library > TakePhotoFromLibraryAction1
- On the Object Inspector set the Editable property to True.
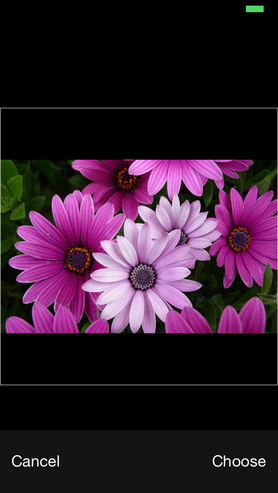
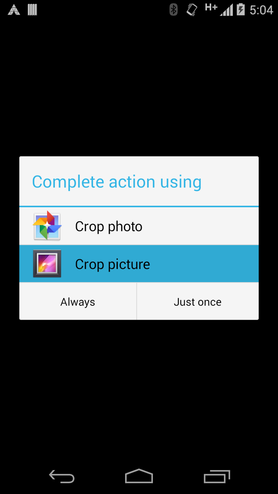
After enabling the Editable property you have the resize and crop options available for the photos on iOS and Android.
On iOS Devices:
|
Loading the Picture |
Resizing the Picture |
Cropping the Picture |
On Android Devices:
|
Loading the Picture |
Resizing the Picture |
Cropping the Picture |
Sharing or Printing a Picture
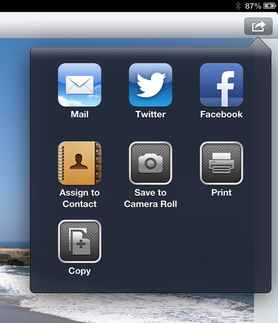
From your application, you can share a photo on social networking sites (such as Facebook and Twitter), you can send the picture to a printer, use the picture as an attachment to e-mail, assign it to Contacts, and so on.
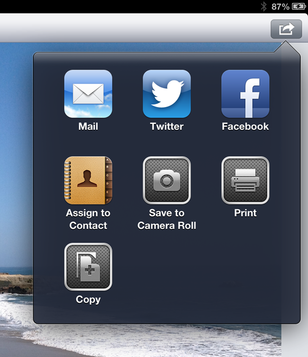
This multi-share service is called Share Sheet Functionality, and you can implement this functionality using the following steps:
- On the Form Designer, select the button (for sharing a photo).
- In the Object Inspector, click the drop-down list for the Action property, and select New Standard Action | Media Library | TShowShareSheetAction.
- On the Events tab, expand the Action node, and then double-click the OnBeforeExecute event.
- Add the following code to the OnBeforeExecute event handler:
Delphi:
procedure TForm1.ShowShareSheetAction1BeforeExecute(Sender: TObject);
begin
  ShowShareSheetAction1.Bitmap.Assign(Image1.Bitmap);
end;
C++:
void __fastcall TForm2::ShowShareSheetAction1BeforeExecute(TObject *Sender)
{
    ShowShareSheetAction1->Bitmap->Assign(Image1->Bitmap);
}
The code above assigns a picture on the TImage component to "Share Sheet Functionality".
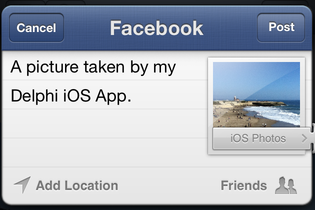
After you select Facebook from the list of services, you can post the picture on Facebook with your comment:
Note: In this subsection, screenshots of iOS devices are used as an example.
For a sample application that uses share sheet functionality, see the FMX.Mobile.PhotoEditorDemo Sample (Delphi).
Sharing Text
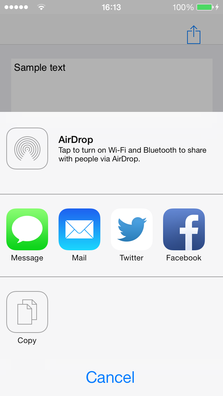
From your application, you can share text using the mobile device's share sheet. The applications that appear in the share sheet depend on the device:
- On an iOS device, a list of suitable sharing options is shown depending on the content that your app wants to share, but there is not a full app-sharing mechanism.
- On an Android device, the choices are dependent on sharing options and installed apps.
From your application, you can share text on social networking sites (such as Facebook and Twitter), you can send it by email, SMS (Short Message Service), and other available methods.
You can implement this functionality with the multi-share service called Share Sheet Functionality. The TShowShareSheetAction is the standard action for sharing images and text. TShowShareSheetAction shows the available sharing options depending on the type of content you are sharing. That is, the options shown for Text are different than for a Bitmap.
This example shows a simple implementation of this functionality. We share the text that the user has typed into a Memo.
- Create a multi-device application.
- Place the following components on the Form Designer:
- TToolBar component
- On the toolbar, add a TButton component.
- Set the StyleLookup property for the button as follows:
- actiontoolbuttonbordered or actiontoolbutton for iOS
- actiontoolbutton for Android
- Note: The actiontoolbuttonbordered property includes the button with a border, while actiontoolbutton shows the button without a border.
- TMemo component
- TActionList component
- TToolBar component
After you have added the components to the sample application:
- On the Form Designer, select the button (for sharing the text).
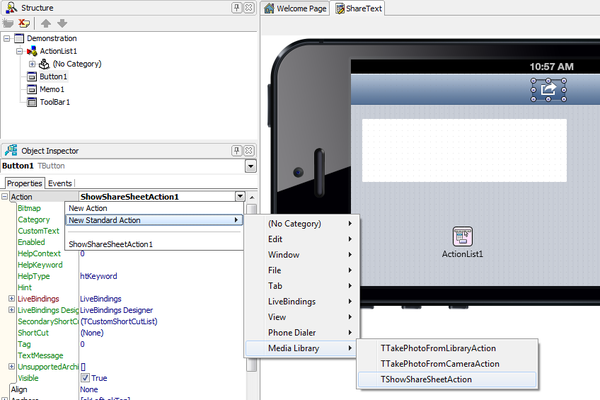
- In the Object Inspector, click the drop-down list for the Action property, and select New Standard Action | Media Library | TShowShareSheetAction.
- On the Events tab, expand the Action node, and then double-click the OnBeforeExecute event.
- Add the following code to the OnBeforeExecute event handler:
Delphi:
procedure TDemonstration.ShowShareSheetAction1BeforeExecute(Sender: TObject);
begin
    ShowShareSheetAction1.TextMessage:= Memo1.Lines.Text;
end;
C++:
void __fastcall TDemonstration::ShowShareSheetAction1BeforeExecute(TObject *Sender)
{
        ShowShareSheetAction1->TextMessage = Memo1->Lines->Text;
}
The code above uses the TextMessage property to assign the text to be shared, as previously typed in a TMemo.
See Also
- Mobile Tutorial: Using Location Sensors (iOS and Android)
- Mobile Tutorial: Using Notifications (iOS and Android)
- Mobile Code Snippets
- FireMonkey Actions
- FMX.StdCtrls.TButton
- FMX.Objects.TImage
- FMX.MediaLibrary
- FMX.Mobile.PhotoEditorDemo Sample (Delphi)
- http://appleinsider.com/articles/12/02/16/share_sheets
