Linking a Property of a Component with a Field
Go Up to LiveBindings Wizard
This procedure shows you how to link a property of a component with a field in a dataset, by means of the LiveBindings Wizard.
Contents
Start by creating an HD Multi-Device Application, and then place a TLabel control and a client dataset on the form. You will learn how to bind the label's Text property to a textual field in the data file that is passed to the dataset.
Note: For this procedure to work, you need to have the biolife.cds database, typically:
- Installed in the /Data directory at Start | Programs | Embarcadero RAD Studio 10.2 Tokyo | Samples
- In the Subversion repository for the Samples on SourceForge at http://sourceforge.net/p/radstudiodemos/code/HEAD/tree/branches/RADStudio_Tokyo/Data
Note that the biolife.fds database is a FireDAC database that might require different steps.
A code example that uses a similar database (DBDEMOS) is located at the FishFact (Delphi) example.
A similar LiveBindings tutorial is available here: Tutorial: Using LiveBindings to Create an Application Without Code.
Tip: In order for the LiveBindings Wizard to be available in the right-click context menu, you need to enable it in Tools > Options > LiveBindings by selecting "Display LiveBindings Wizard in right-click menu". (If you start the wizard from the LiveBindings Designer, then you do not need to enable the wizard command in the options dialog box.)
Step 1: Binding Task
After placing the label control on the form, you need to bind it to the Category field in the dataset.
First click the client dataset component and, in the Object Inspector, locate the FileName property. Specify the location of the biolife.cds database.
Locate the Active property in the Object Inspector and set it to True.
Right-click the image control and select the LiveBindings Wizard command.
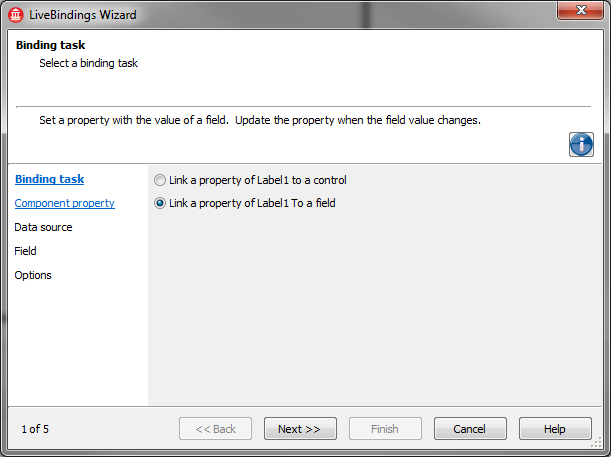
Then select Link a property of component Label1 with a field from the Binding Task wizard page.
Validate your selection by clicking the Next button.
Step 2: Component Property
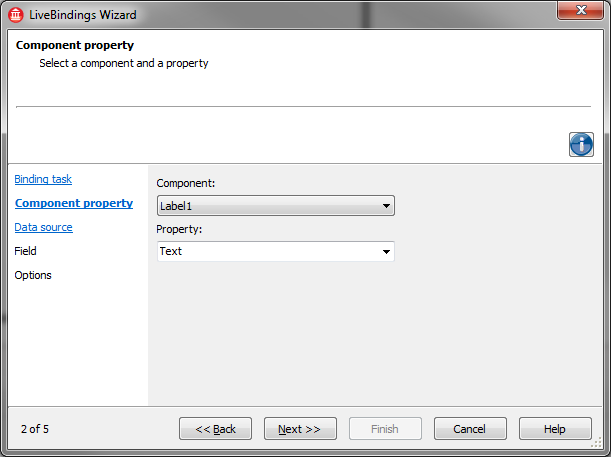
Now you are prompted to select the component and property to which you want to bind your label.
In the Component combo box, select Label1.
In the Property combo box, select Text, as you want to link the label to the Category text field.
Click Next.
Step 3: Data Source
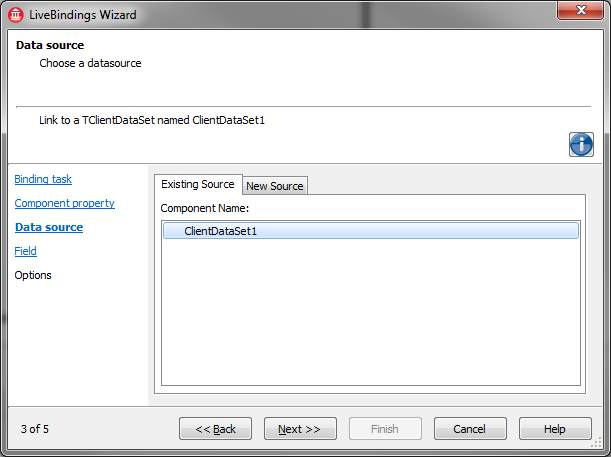
Here you need to select the dataset from the Existing Source tab. Choose ClientDataSet1.
Click Next.
Step 4: Field
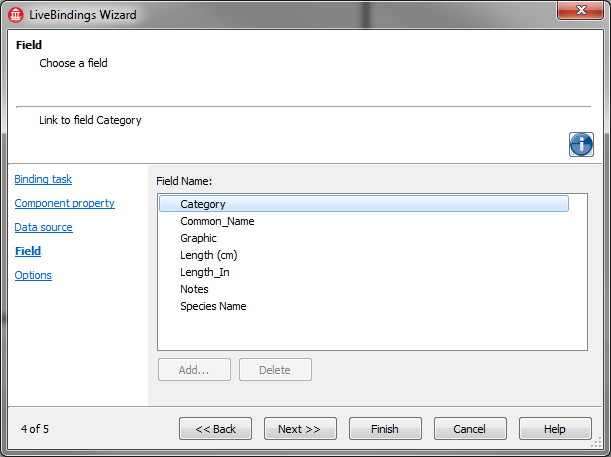
Now you are presented with a list of available fields in the biolife.cds database.
Select the Category field.
Click Next.
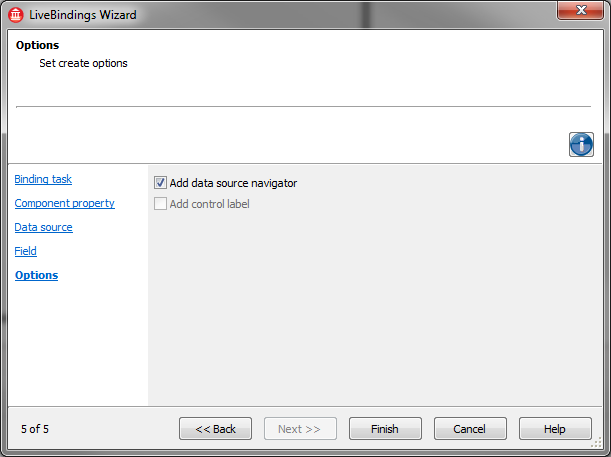
Step 5: Options
You are prompted whether you want to create a data source navigator along with your binding expression.
For this example, choose to add a navigator.
Click Finish, as this is the last page of the wizard.
After the wizard closes, a new binding expression is created that binds the Text property of the image control and the Category field in the specified dataset.
The Results
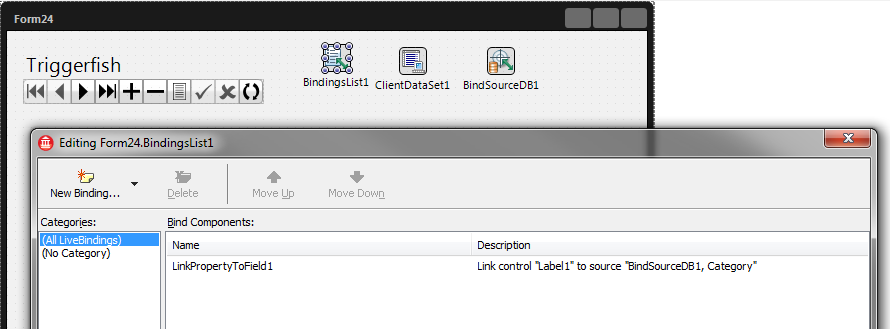
After the wizard closes and you are returned to the designer in the IDE, you can see that two new LiveBindings engine-related components have been added (TBindingsList and TBindScopeDB) along with a TBindNavigator component. To bring up the Binding Expression Editor dialog box, double-click the BindingsList1 component.
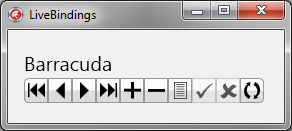
Now run the application (press F9) and test your binding expression by cycling through the records in the dataset. You should see that the text in the label updates correctly.
A screenshot of the running application is shown below.
