Basic customization of the main form (IDE Tutorial)
Go Up to Starting your first RAD Studio application Index (IDE Tutorial)
Before adding any components, you should start by doing some basic customization to the form. Make sure that the main form is activated (click it once to activate). In the Object Inspector, with the Properties tab selected, look for the Caption property and change its value to Text Editor; also, change the value of the Name property to TextEditorForm.
To make the design of the project more visually balanced, set the main form to initially be positioned in the center of the screen. To do this, change the value of the Position
property to ScreenCenter by clicking the value field for Position and then selecting the value from the drop-down list. For the same reason, make the form square-shaped, by changing the values of both Width and Height to 400, or any other number you prefer, as long as the number does not exceed the current screen size.
After making these changes, the main form should look as follows:
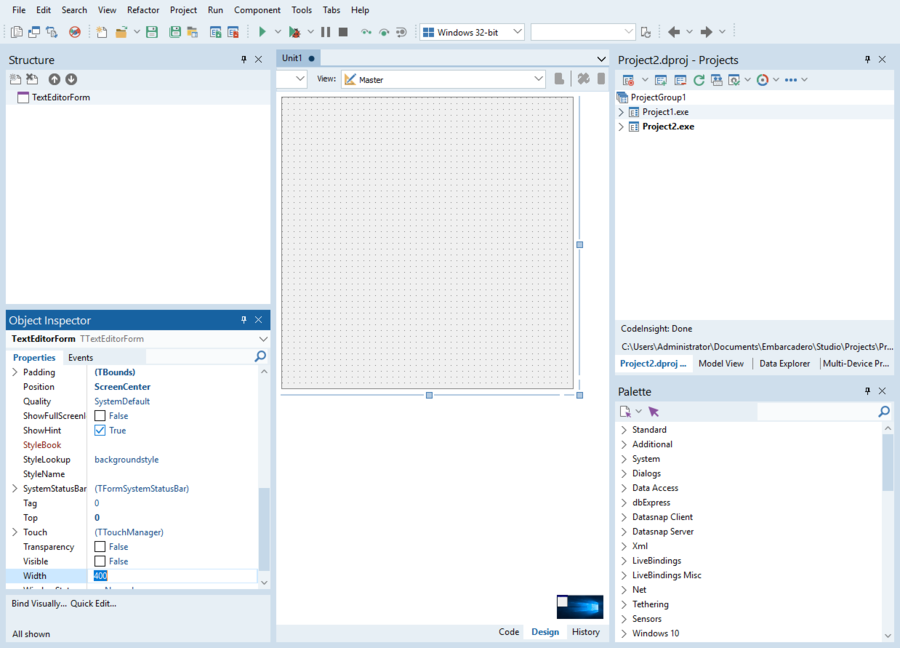
- Basic customization of the main form (Delphi view)

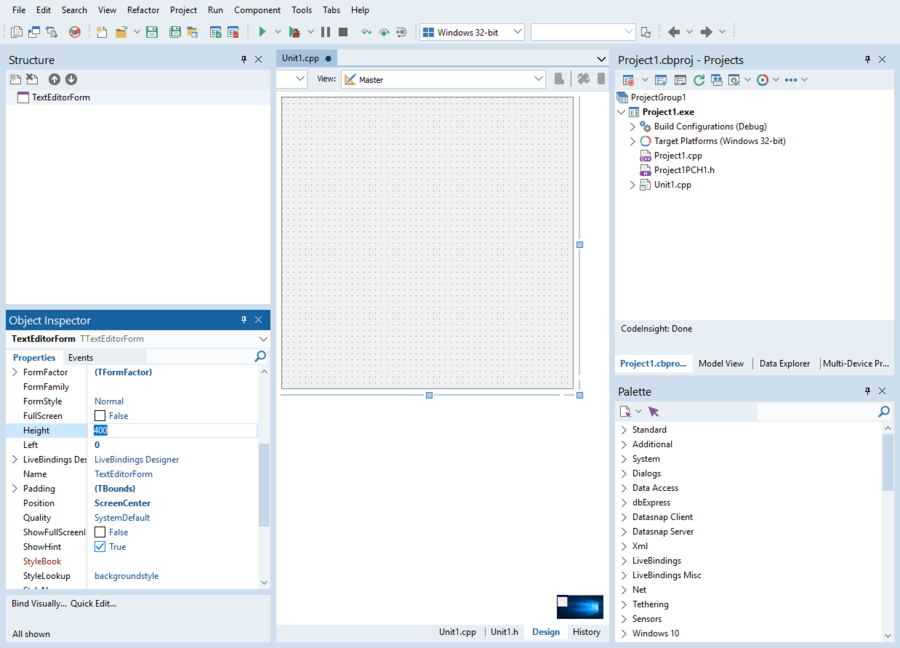
- Basic customization of the main form (C++Builder view)

Before you continue this tutorial, click File > Save All and save your unit as TextEditorUnit.pas and your project as TextEditor.dproj inside a new folder, also named TextEditor, in your projects folder. As you continue following this tutorial, select File > Save to save your progress in the current unit at any time.