Using the Cloud Service to Send Push Notifications
(Redirected from Using the Cloud Service)
Go Up to BaaS Overview
Contents
There are multiple providers on the market that can be used for sending notifications. RAD Studio comes with pre-installed components for two providers:
Before you create your Kinvey application or Parse application, ensure that:
- You must have an account in order to use either one of the providers. For more information, see Getting Started with Kinvey and Parse.
- You must have set the messaging service (Google or Apple) to allow your applications to receive Remote Notifications.
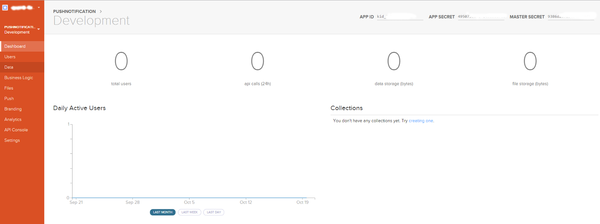
Create a Project at Kinvey
Setting up your Project
- Go to Kinvey console and click New App to create a new project. (Click Sign up for Kinvey.)
- To create your app backend:
- Set a name for the project.
- For platform, select REST API and click Create App.
- Now you can see the AppKey, App Secret and Master Secret parameters that you will need later.
NOTE: You can also go to the app settings page to copy App Secret and Master Secret.


Push Configuration
- In the left-menu of the Kinvey console of your project, select Engagement.
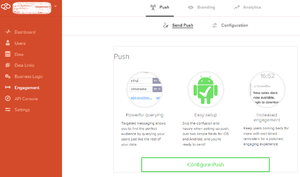
- Click Configure Push.

Google Cloud Messaging Configuration (Android Configuration)
-
Copy:
- the Project ID from Registering at Google.
- the API Key from Registering at Google.
- Click Save GCM Configuration.

iOS Configuration
- Upload your Apple p.12 certificate to Kinvey.
- Click Save iOS Configuration.

Adding a User
- In the left-menu of the Kinvey console of your project, select Users.
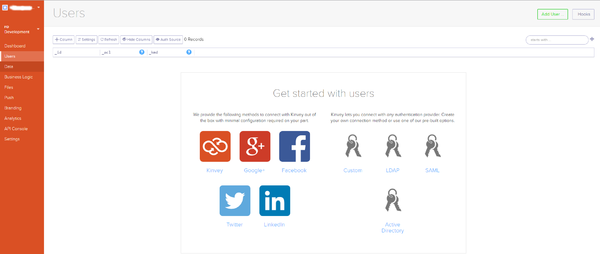
- Select Add User and define a user and a password.
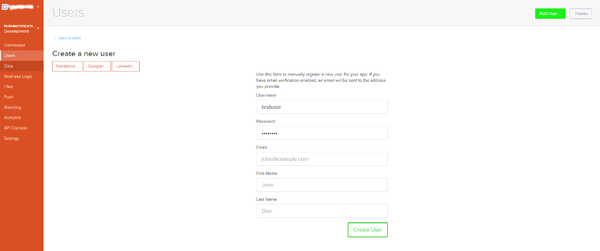
- Click the Create User button.


Create a Project at Parse
-
Go to the Parse page, click either Sign Up or Try it for free, and create a new app.
- Specify a name for your app.
- A list of Keys is displayed. Click Data Browser to see configuration details.
NOTE: You can access this list later by browsing to Settings > Keys.
- Go to Settings > Push and enable Client Push
- (iOS only) In Apple Push Certificate section upload your Apple p.12 certificate.
The Apple App ID and the Parse App are now linked.


See Also
- Mobile Tutorial: Using Remote Notifications (iOS and Android)
- Mobile Tutorial: Using Notifications (iOS and Android)
- Mobile Tutorial: Using BaaS for Backend Storage (iOS and Android)