Mobile Tutorial: Using a MultiView Component to Display Alternate Views of Information (iOS and Android)
Go Up to Mobile Tutorials: Mobile Application Development (iOS and Android)
Contents
About the TMultiView Component
The FMX.MultiView.TMultiView component represents a container (the master pane) for other controls, and provides a way for you to easily present alternate views of information. The TMultiView component allows you to implement a master-detail interface, which can be used for any supported target platform.
- The master pane can display a collection of any visual controls, such as edit boxes, labels, lists, and so forth.
- The detail pane typically displays information based on the properties of the controls in the master pane.
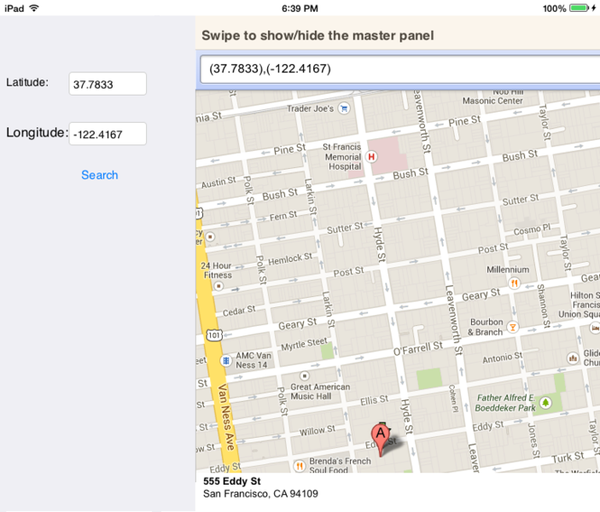
The following screen illustrates an example master-detail interface. In the master pane (the left docked panel), you enter a geographical position, and then click Search to cause the detail pane (the right panel) to display the appropriate Google map.
Master Pane Presentation Modes
The TMultiView class defines a set of properties that allow you to control the interface behavior. For example, the TMultiView.Mode property specifies the master pane presentation mode as described in the following table:
| TMultiView.Mode | Master Pane Presentation |
|---|---|
| Drawer | In the Drawer mode, the master pane can be whether hidden or can slide to overlap the detail pane. |
| Panel | Master and detail panels are always displayed, independently of a device type and orientation. The master panel is docked to the left or right of the MultiView component. |
| PlatformBehaviour | An application automatically selects the master pane presentation mode. See the Platform Dependent Behavior Mode subsection. |
| Popover | Pop-up menu. |
| NavigationPane | Navigation pane. |
| Custom | The user can customize the master pane presentation. The custom presentation class should be set in the CustomPresentationClass property. See the Custom Mode subsection. |
True.- In Structure View, right-click a TMultiView node and select the Show or Hide commands.
- In Structure View, double-click a TMultiView node.
Drawer Mode
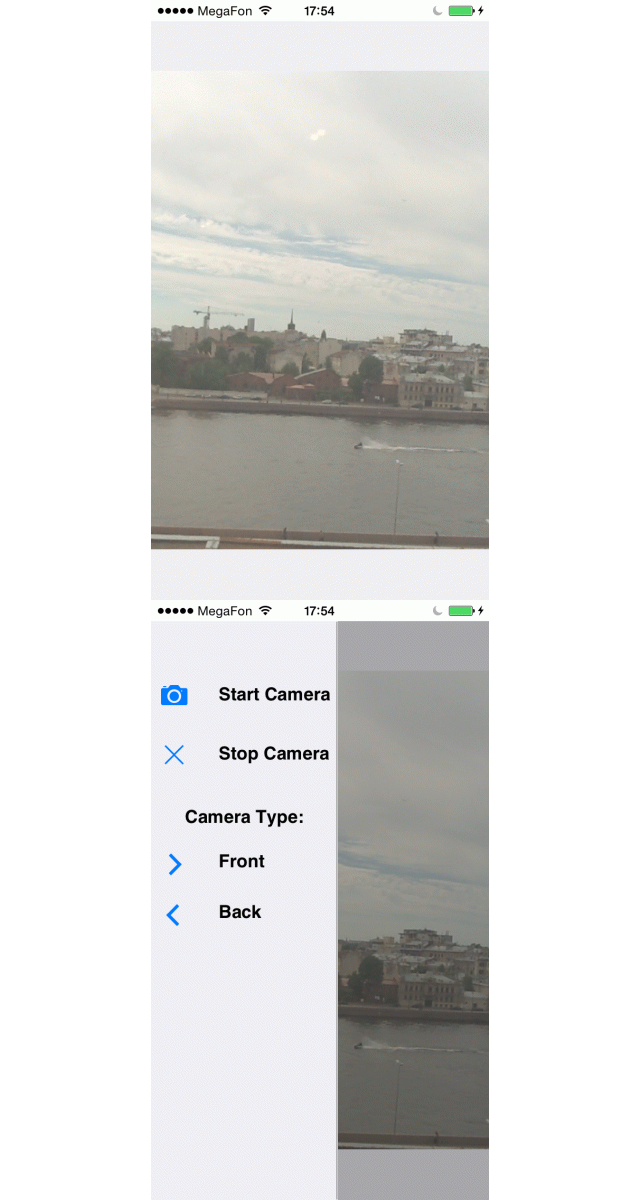
If you set the TMultiView.Mode property to Drawer (using TDrawerAppearance.Mode=OverlapDetailView), the master pane is initially hidden. To display the master pane, the user swipes right from the left edge of the screen, as shown in the following animated image:
Popover Mode
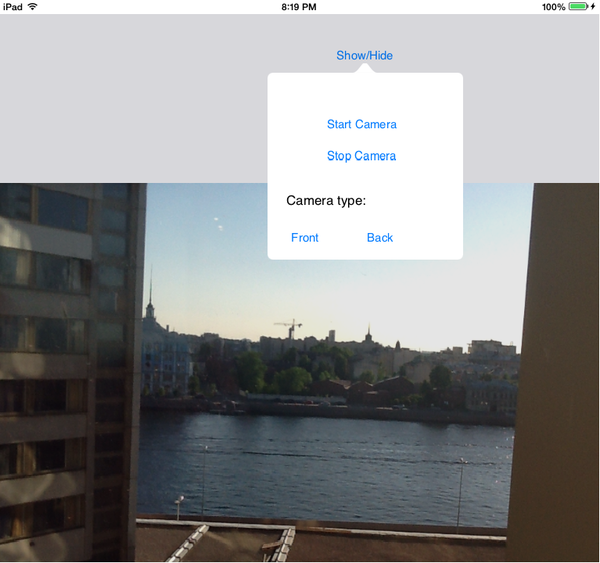
You can also set the TMultiView.Mode property to Popover to make the master pane a pop-up menu that is displayed next to the Master button specified in the TMultiView.MasterButton property.
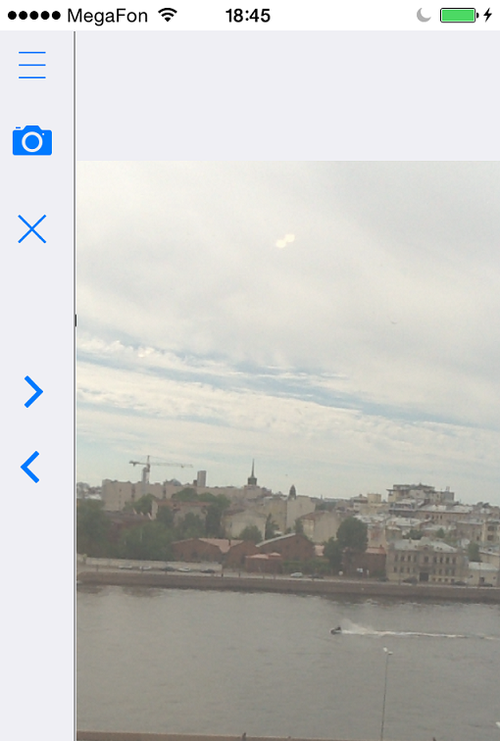
If you set the TMultiView.Mode property to NavigationPane, the master pane is initially displayed as a minimized docked panel. You can control the initial width of this panel with the CollapsedWidth property (by default, CollapsedWidth=50).
Initially minimized Navigation Pane
True.To expand the navigation panel to display all child controls, tap the Master button specified in the TMultiView.MasterButton property.
Expanded Navigation Pane
Platform Dependent Behavior Mode
You can let the application automatically select the master pane presentation mode, if the TMultiView.Mode property is set to PlatformBehaviour. For this setting, the application behavior depends on the device type and orientation, as described in the following table:
| Device Type | Device Orientation | Master Pane Presentation |
|---|---|---|
| Phone | Landscape, Portrait | Drawer (push/overlap) |
| Tablet | Landscape | Docked panel |
| Tablet | Portrait | Drawer (push/overlap) |
Custom Mode
In Custom mode, you can customize the master pane presentation to conform to your tasks. To customize the master pane presentation, perform the following basic steps:
-
Declare your own class, such as
MyPresentationClassthat descends from TMultiViewPresentation or from other classes that were declared in the FMX.MultiView.Presentations unit. -
In the
MyPresentationClass, optionally, override the following virtual methods defined in the base class: These methods define the master pane behavior. -
In the Form Designer, select the TMultiView component, and then in the Object Inspector, set its property Mode to
Custom. -
Implement the onFormCreate event handler as follows:
- For Delphi:
procedure TForm1.FormCreate(Sender: TObject);
begin
  MultiView1.CustomPresentationClass := MyPresentationClass;
end;
- For C++:
void __fastcall TForm1::FormCreate(TObject *Sender)
{
  MultiView1->CustomPresentationClass = __classid(MyPresentationClass);
}
This topic helps you develop a simple application that illustrates the use of the TMultiView component.
Designing the User Interface
- Create a blank Multi-Device Application, by selecting:
- For Delphi: File > New > Multi-Device Application - Delphi > Blank Application
- For C++: File > New > Multi-Device Application - C++Builder > Blank Application
- Select the TMultiView component in the Tool Palette, and drop it on the Form Designer.
- Drop other controls, such as buttons, edit boxes or any other controls you need onto the MultiView container.
- In the Tool Palette, select a component you want to use as a detail pane (such as TPanel), and drop any controls onto this panel.
- In the Object Inspector, specify the appropriate properties of the TMultiView component.
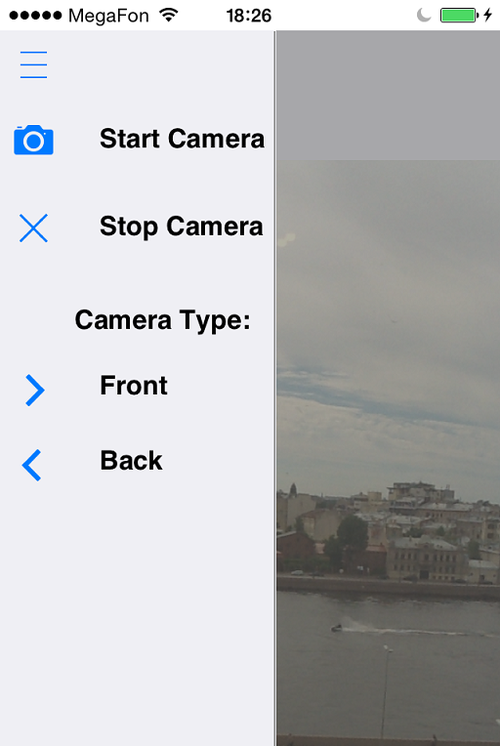
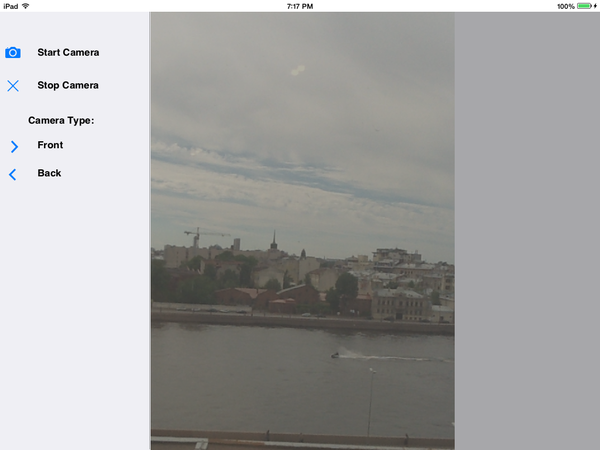
To clarify this procedure, the following sections consider a particular example: an application that controls the mobile device camera.
Designing the Master Pane
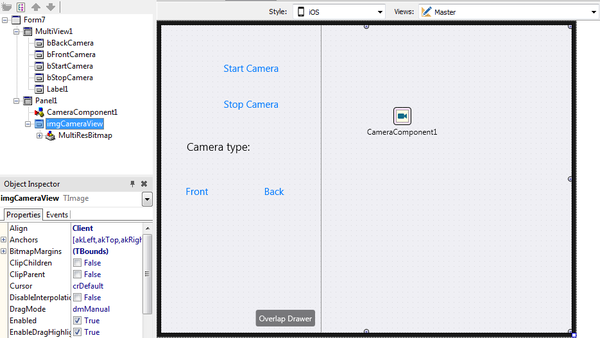
- Select the TMultiView component in the Tool Palette, and drop it on the Form Designer.
- Drop two TButton components into the TMultiview container, and then in the Object Inspector specify the following properties of those buttons:
- Set the
Nameproperty to bStartCamera and bStopCamera, respectively. - Set the
Textproperty to Start Camera and Stop Camera, respectively.
- Set the
- Drop a TLabel component into the TMultiview container, and then in the Object Inspector, set its
Textproperty to Camera type:. - Drop two TButton components into the TMultiview container, and then in the Object Inspector specify the following properties of those buttons:
- Set the
Nameproperty to bFrontCamera and bBackCamera, respectively. - Set the
Textproperty to Front and Back, respectively.
- Set the
Designing the Detail Pane
- Select the TPanel component in the Tool Palette, and drop it on the Form Designer.
- In the Object Inspector, set the TPanel.Align property to
Client. - Drop the TCameraComponent into the TPanel container.
- Drop the TImage into the TPanel container, and set the following properties:
- Name =
imgCameraView - Align =
Client
- Name =
Implementing the Camera Buttons Functionality
To complete the application development, you should implement event handlers for the application buttons and the GetImage private method that gets an image from the device camera.
To implement the OnClick event handlers
-
On the Form Designer, double-click the Start Camera button, and insert the following code:
- For Delphi:
procedure TForm1.bStartCameraClick(Sender: TObject);
begin
   CameraComponent1.Active := true;
end;
- For C++:
void __fastcall TForm1::bStartCameraClick(TObject *Sender)
{
CameraComponent1->Active = true;
}
- For Delphi:
-
Double-click the Stop Camera button, and insert the following code:
- For Delphi:
procedure TForm1.bStopCameraClick(Sender: TObject);
begin
   CameraComponent1.Active := false;
end;
- For C++:
void __fastcall TForm1::bStopCameraClick(TObject *Sender)
{
CameraComponent1->Active = false;
}
- For Delphi:
-
Double-click the Front button, and insert the following code:
- For Delphi:
procedure TForm1.bFrontCameraClick(Sender: TObject);
begin
  CameraComponent1.Active := False;
  CameraComponent1.Kind := FMX.Media.TCameraKind.FrontCamera;
  CameraComponent1.Active := True;
end;
- For C++:
void __fastcall TForm1::bFrontCameraClick(TObject *Sender) {
	// select Front Camera
	CameraComponent1->Active = false;
	CameraComponent1->Kind = TCameraKind::FrontCamera;
	CameraComponent1->Active = true;
}
- For Delphi:
-
Double-click the Back button, and insert the following code:
- For Delphi:
procedure TForm1.bBackCameraClick(Sender: TObject);
begin
  CameraComponent1.Active := False;
  CameraComponent1.Kind := FMX.Media.TCameraKind.BackCamera;
  CameraComponent1.Active := True;
end;
- For C++:
void __fastcall TForm1::bBackCameraClick(TObject *Sender) {
	// select Back Camera
	CameraComponent1->Active = false;
	CameraComponent1->Kind = TCameraKind::BackCamera;
	CameraComponent1->Active = true;
}
- For Delphi:
To implement the onSampleBufferReady event handler
-
In the Form Designer, double-click the CameraComponent1 and implement the following code:
- For Delphi:
procedure TForm1.CameraComponent1SampleBufferReady(Sender: TObject;
  const ATime: Int64);
begin
       TThread.Synchronize(TThread.CurrentThread, GetImage);
end;
- For C++:
void __fastcall TForm1::CameraComponent1SampleBufferReady(TObject *Sender,
		  const __int64 ATime)
{
	GetImage();
}
- For Delphi:
For the TForm1 class, you should implement the private method GetImage. The onSampleBufferReady event handler calls this method to get the image from the device camera.
Do the following:
-
In the private section of the TForm1 class, declare the GetImage method:
- For Delphi:
 private
    { Private declarations }
    procedure GetImage;
- For C++:
- In the header file (.h file), add the following code:
private:	// User declarations
	void __fastcall GetImage();
- For Delphi:
- Implement the GetImage method as follows:
- For Delphi:
procedure TForm1.GetImage;
begin
  CameraComponent1.SampleBufferToBitmap(imgCameraView.Bitmap, True);
end;
- For C++:
void __fastcall TForm1::GetImage()
{
	CameraComponent1->SampleBufferToBitmap(imgCameraView->Bitmap, true);
}
- For Delphi:
Setting the TMultiView Component Properties
In the Form Designer, select the TMultiView component, and then in the Object Inspector, set the following properties:
- TargetControl =
Panel1 - Mode =
Drawer - Visible =
True - Expand the DrawerOptions node, and set the Mode property to
OverlapDetailView. - Expand the ShadowOptions node, and set the Color property to
Beige. (This property defines the color of the master panel shadow. You can use any available color.)
Running the Example Application
To run this application, do the following:
- In the Projects Window, select the target platform (supported platforms: Android or iOS).
- Press
Shift+Ctrl+F9to run the application without debugging. - To open the master panel, swipe right from the left edge of the device screen.
- To activate the device camera, on the master panel, click Start Camera.
- Optionally, you can select the front or back camera (if available) by using the Front or Back button, respectively.
To close the master panel, slide it left.
Mobile Product Samples that Use TMultiView
Go to the Mobile Samples folder in C:\Users\Public\Documents\Embarcadero\Studio\23.0\Samples.
- MultiView Demo sample
- Location Demo sample
- Music Player sample
- REST Surf Spot Finder sample (Delphi)
- REST Surf Spot Finder sample (C++)
