Creating a FireMonkey 3D Application with Animation Effects
Go Up to Tutorial: Creating a FireMonkey 3D Application
This tutorial demonstrates how to create a FireMonkey 3D application and how to add an animation to a 3D object without writing any code.
Contents
Creating a FireMonkey 3D Application
- Select File > New > Multi-Device Application - Delphi. On the Multi-Device Application wizard, choose 3D Application and press the OK button.
- The Form Designer appears, displaying a FMX.Forms3D.TForm3D.
Adding Components
From the Tool Palette, add the following FireMonkey 3D components (by entering the component name in the Search field):
Adjusting Components
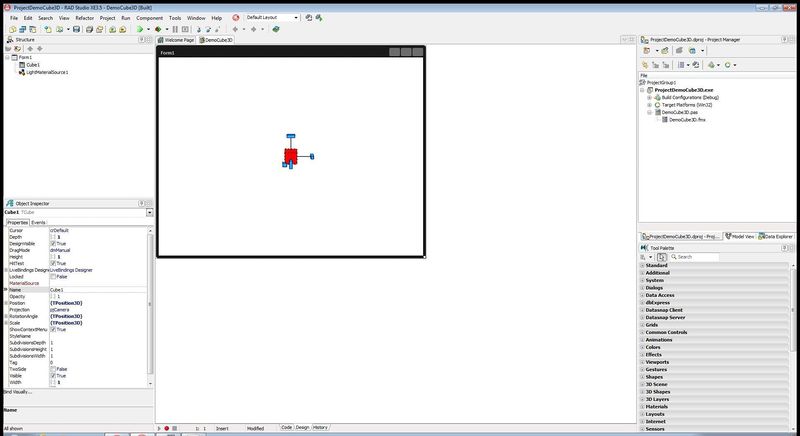
- In the Form Designer, adjust the position and size of the FireMonkey 3D component to suit your needs:
- To move an object, simply drag and drop.
- To rotate a 3D component, use the three blue handles that appear when you click the component. Each handle rotates the component in the associated plane in space (that is, the x, y, or z vertex). When you click a handle, it becomes red to indicate that it is the active handle. Note: You can also use the RotationAngle properties in the Object Inspector (x, y, and z).
- To resize a component, use the resizer control, which is a small blue cube located on one corner of the component. The resizer works in one dimension at a time; the resizer is red on the side of the cube that is the selected (active) dimension. Note: You can also use the properties in the Object Inspector (for TCube, the size-related properties are Depth, Width, and Height).
- To change the material of the cube:
- To specify the color and texture of the material, use the TLightMaterialSource properties.
- In the Object Inspector, with the TLightMaterialSource in focus:
- Adjust the Texture property by clicking ellipsis […] >Edit. The Bitmap Editor wizard opens. Click the Load button on the Bitmap Editor to load the wanted texture. After loading the texture, click the OK button on the Bitmap Editor.
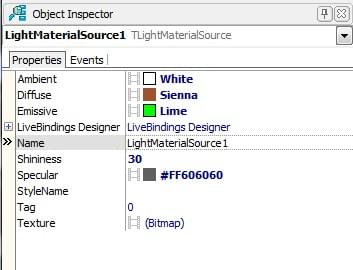
- Ambient, Diffuse, Emissive, and Specular can be set like in the following image.
- To specify the color and texture of the material, use the TLightMaterialSource properties.
- To add animation effects to the cube:
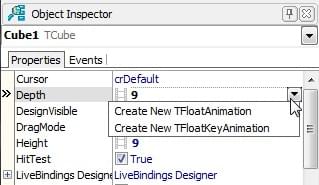
- In the Object Inspector, with the TCube in focus, click the drop-down menu for the Depth property, and then select Create New TFloatAnimation.
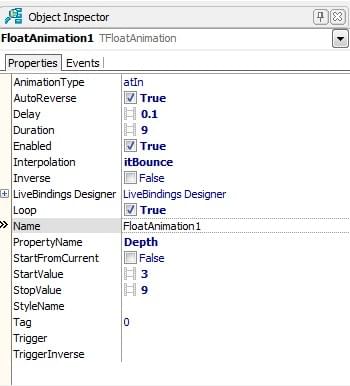
- In the Object Inspector, with the TFloatAnimation in focus, change the following properties as described in the image:
- In the Object Inspector, with the TCube in focus, repeat the instructions above for the Hight and Width properties.
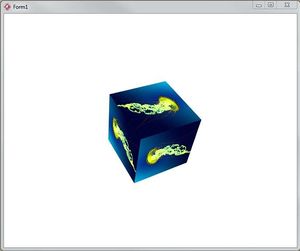
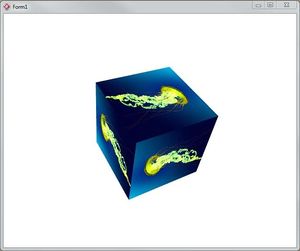
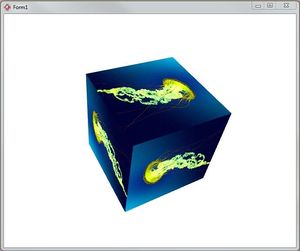
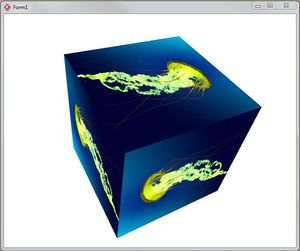
- Press F9 to compile, build, and run the application.
| 1 | 2 | 3 | 4 |
|---|---|---|---|
|
|
|
|
See Also
- Using FireMonkey Animation Effects
- Creating a FireMonkey Component (Delphi)
- Creating a FireMonkey Component (C++)
- 3D Multi-Device Application
- FireMonkey 3D
Samples
- FireMonkey HD Animation sample
- FireMonkey 3D Animation sample
- FireMonkey First App3D sample
- FireMonkey 3D Arrows sample
- FireMonkey ViewPort3D TLightTexture3D sample
- FireMonkey Planets sample
- FireMonkey Cameras Textures 3D sample
