Saving the LiveBindings Diagram as an Image
Go Up to LiveBindings Designer
The LiveBindings Designer allows you to save your binding diagram to an image on your hard disk drive.
To save the LiveBindings diagram as an image
- Open the LiveBindings Designer (if it is not already opened) using View > LiveBindings Designer.
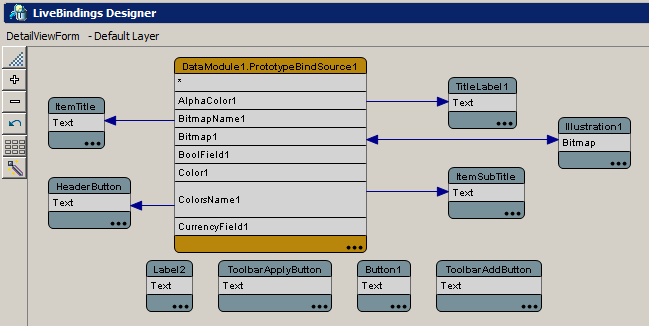
- Create all the LiveBindings you need and arrange your elements and links in the way that suits you. (For details, see Creating LiveBindings.)
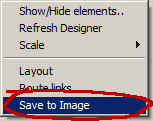
- Right-click an empty portion of the LiveBindings Designer, and choose Save to Image on the context menu.
- On the Export Diagram to Image dialog box, adjust the following parameters of the image that is to contain your binding diagram.
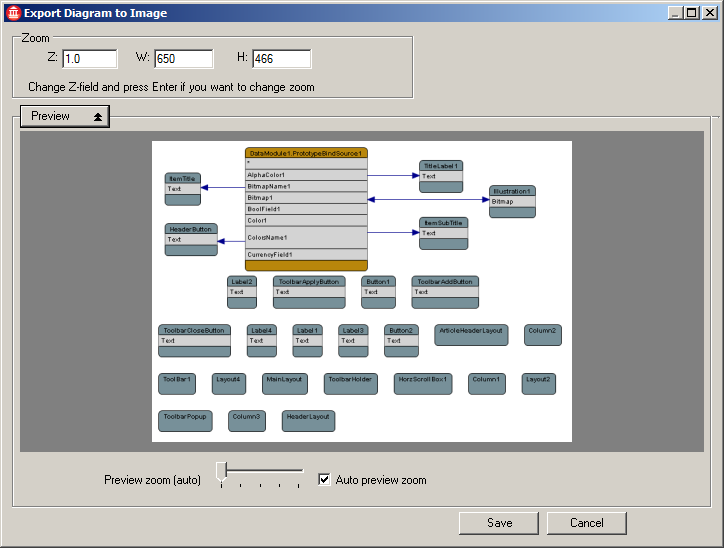
- The Z field specifies the zoom level of the diagram. It cannot be 0.
- The W field specifies the width of the image. It cannot be 0.
- The H field specifies the height of the image. It cannot be 0.
- The Preview button extends the dialog box with a preview area where you can inspect the image as it will be saved to your hard disk.
- The Preview zoom slider lets you adjust the size of the preview image in its display area.
- The Auto preview zoom check box automatically chooses the best-fit image dimensions in the preview area.
- After setting parameters for the image, click the Save button, and choose a file name and location using the standard Windows Save dialog box.


