Using Layouts to Create a Scaled Effect
Go Up to Tutorial: Using FireMonkey Layouts
This tutorial demonstrates how to use FireMonkey layouts to scale a set of buttons at the same dimension.
- On the form created in the previous tutorial, add a TScaledLayout and a TTrackBar.
- In the Object Inspector, make the following changes:
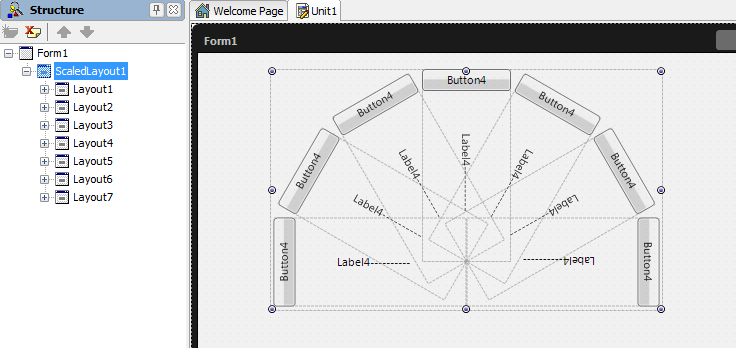
- In the Structure View, select all the layouts (
Ctrl+Clickeach layout). - Drag-and-drop the layouts under the TScaledLayout.
- In the Form Designer, resize the TScaledLayout so that the entire pattern fits within the TScaledLayout. With all the layouts selected, center the entire pattern within the TScaledLayout.
- In the Object Inspector, scale the TScaledLayout as follows:
- Double-click the TTrackBar to attach OnChange event handlers to it.
// Delphi version of the implementation
 procedure TForm1.TrackBar1Change(Sender: TObject);
begin
  ScaledLayout1.Scale.X:=TrackBar1.Value;
  ScaledLayout1.Scale.Y:=TrackBar1.Value;
end;
 // C++ version of the implementation
void __fastcall TForm3D1::TrackBar1Change(TObject *Sender)
{
      ScaledLayout1->Scale->X=TrackBar1->Value;
      ScaledLayout1->Scale->Y=TrackBar1->Value;
}
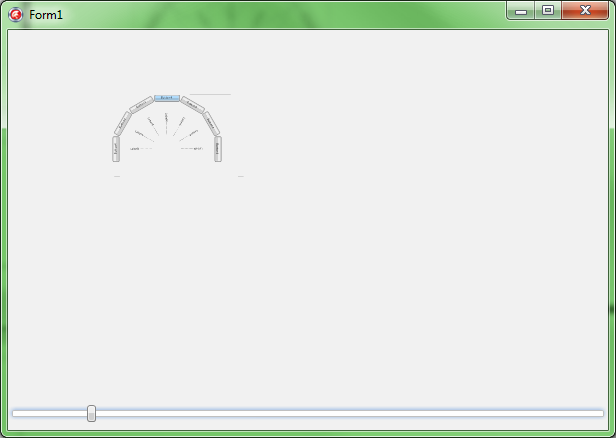
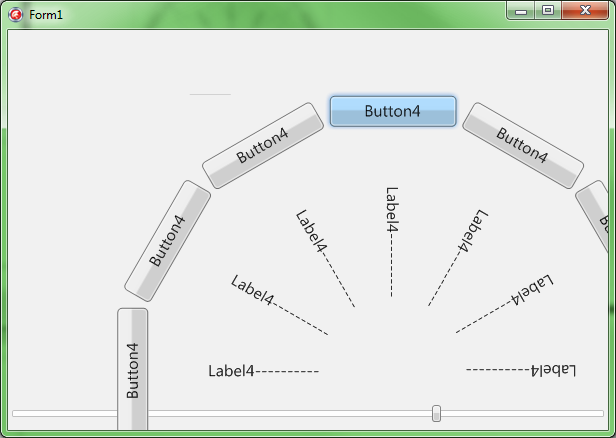
- 8. Run the project by pressing F9. The results should look like this:
- When the buttons are scaled, they are not disabled. They remain active, regardless of the scale being used.


