Creating the Application and the LiveBindings
Go Up to Tutorial: Using LiveBindings in FireMonkey Applications
To begin this tutorial, create a new HD Multi-Device Application. Now you can start adding the required visual components to the newly created blank form.
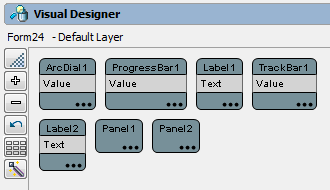
- From the Tool Palette, drag and drop the following controls to your multi-device form:
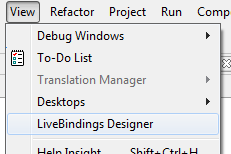
- Open the LiveBindings Designer from the View menu.
- In the LiveBindings Designer, your binding diagram contains just the objects and you are ready to link them.
- In the Designer, create a binding between the Value property of the progress bar and the Value property of the track bar.
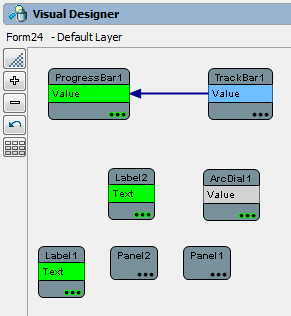
- Do the same for the RotationAngle property of the progress bar, and bind it to the Value property of the arc dial.


At this point, the progress bar is bound to the track bar through their Value properties. This means that whenever you change the position of the slider, the progress indicator increases or decreases accordingly. The progress bar is also bound to the arc dial component through their RotationAngle and Value properties. This means that whenever you change the position of the arc dial, the rotation angle of the progress bar changes accordingly.
