Windows MSIX Support
Starting RAD Studio version 10.4.2 and onwards, the product introduces support for MSIX packaging of Windows applications for Microsoft Store and Enterprise deployment.
Contents
Project Configuration
The RAD Studio MSIX support replaces the APPX support, and it is based on a very similar configuration in the project options for Ad hoc and Store distribution types.
Ad hoc distribution type
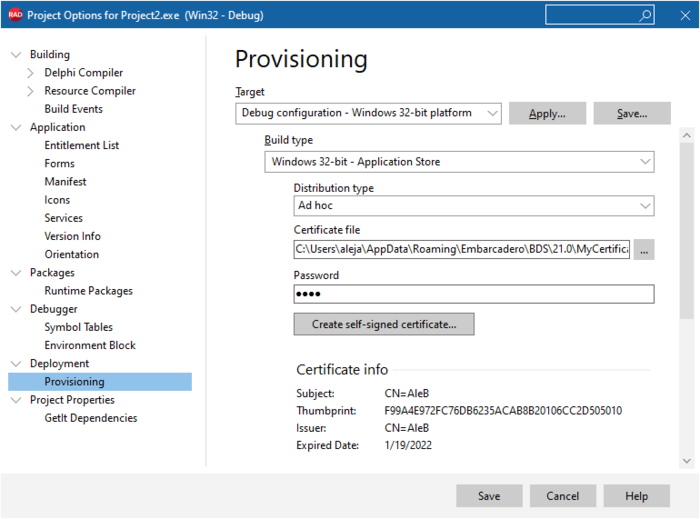
To test or direct distribution without submitting it to the Windows Store, your best option is to create an Ad hoc distribution provisioning profile.
For an Ad hoc distribution type, you need a certificate file that can be created or browsed by clicking the ellipsis (...).
Store distribution type
To submit your application to the Windows Store, create a Store distribution provisioning profile.
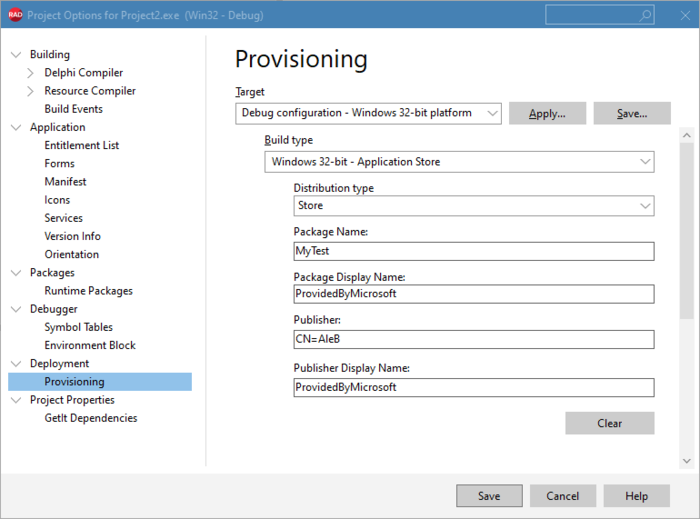
Once everything is configured, you can use the Project Deploy command to create an MSIX file under the subfolder WinXX\Debug\projectname\bin folder of the project folder.
Local MSIX Installation and Certificate Installation
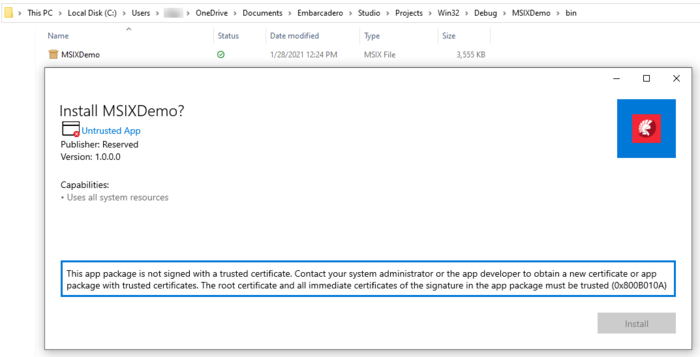
If you activate the MSIX file, it will prompt you to install it locally, and unless you have enabled the certificate, you’ll see the following:
Certificate Installation
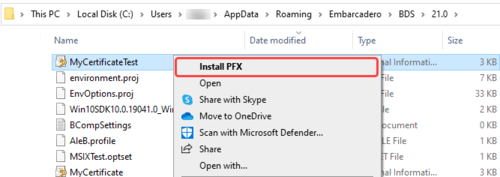
Locate the certificate file on your hard drive by following the next steps:
- Go to the folder where you saved your certificate.
- Right-click your certificate and select Install PFX.
- When Certificate Import Wizard opens, select Local Machine as Store Location
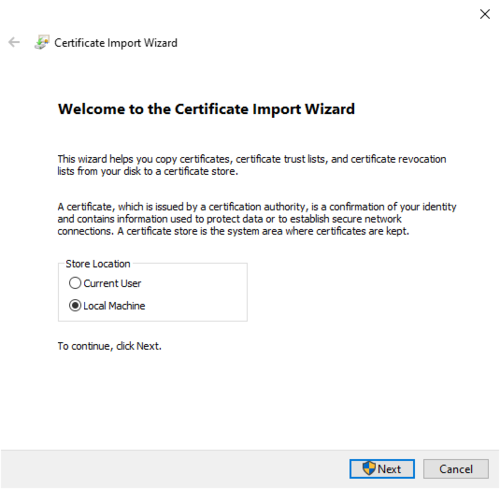
- Confirm the file to import.
- Enter the certificate password.
- Select " Place all certificates in the following store".
- Click the " Browse..." button, select “Trusted Root Certification Authorities”.
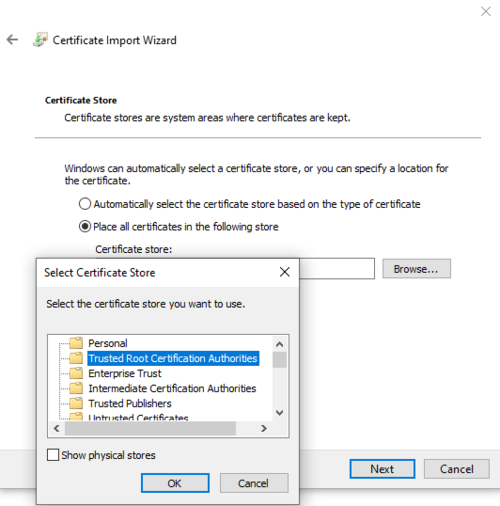
- Complete the process
MSIX File installation
To enable MSIX configuration, do not forget to activate the “ Applications Store” configuration.
After a successful certificate installation and application configuration, opening the MSIX file will allow you to install it:
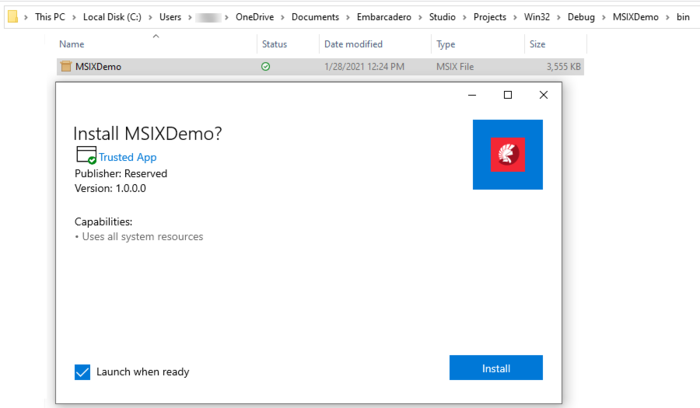
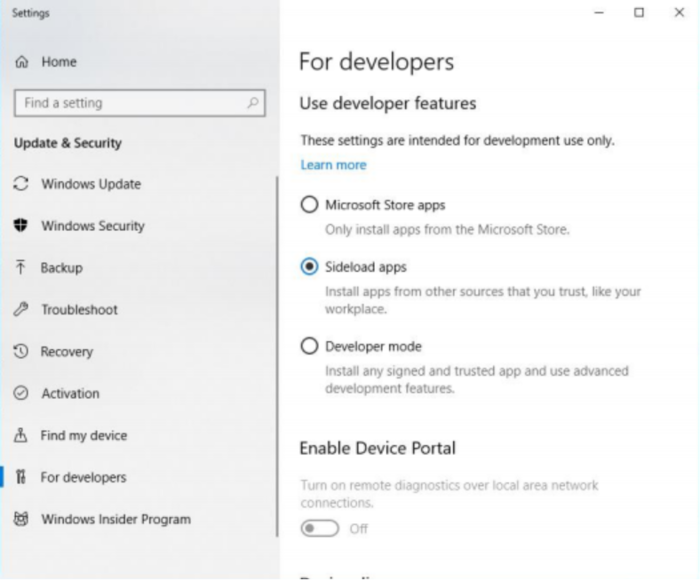
Notice you also need to have app sideloading enabled in your Windows 10 configuration. Otherwise, the MSIX installer will offer you a link to the configuration dialog:
MSIX and Microsoft Store
The IDE support allows you to create MSIX files that are ready to be uploaded to the Microsoft Store for Windows. In this case, the project configuration must include the application ID and user ID provided by the Microsoft store configuration, once you have a (paid) account and create a new project.
Otherwise, an error message is displayed:

Win SDK Requirements for MSIX
MSIX support requires the installation of a recent version of the Microsoft Windows SDK, which is part of the RAD Studio installation. If you have an older version installed, you’ll receive an error like the following in the deployment phase:
[PAClient Error] Error: E5384 SignTool Error: This file format cannot be signed because it is not recognized. [PAClient Error] Error: E5384 SignTool Error: An error occurred while attempting to sign: C:\...\vcldemo\bin\MSIXDemo.msix