Creating the User Interface (FireMonkey 3D Tutorial)
Go Up to Tutorial: Creating a FireMonkey 3D Application
Contents
Creating a FireMonkey 3D Application
- Select File > New > Multi-Device Application - Delphi. On the Multi-Device Application wizard, choose 3D Application and press the OK button.
- The Form Designer appears, displaying a FMX.Forms.TForm3D.
Adding and Adjusting Components
- From the Tool Palette, add the following FireMonkey 3D components (by entering the component name in the Search field and pressing Return):
- In the Form Designer, adjust the position and size of the FireMonkey 3D components to suit your needs:
- To move an object, simply drag and drop.
- To rotate a 3D component, use the three blue handles that appear when you click the component. Each handle rotates the component in the associated plane in space (that is, the x, y, or z vertex). When you click a handle, it becomes red to indicate that it is the active handle. Note: You can also use the RotationAngle properties in the Object Inspector (x, y, and z).
- To resize a component, use the resizer control, which is a small blue cube located on one corner of the component. The resizer works in one dimension at a time; the resizer is red on the side of the cube that is the selected (active) dimension. Note: You can also use the properties in the Object Inspector (for TCube, the size-related properties are Depth, Width, and Height).
- To change the material of the two cubes:
- Add a TTextureMaterialSource to the form.
- In the Object Inspector, using TTextureMaterialSource, adjust the Texture property by clicking ellipsis […] >Edit. The Bitmap Editor wizard opens. Click the Load button of the Bitmap Editor to load the wanted texture. After loading the texture, click the OK button on the Bitmap Editor.
- In the Object Inspector, with the first cube in focus, adjust the MaterialSource property by clicking ellipsis […] > and choose the added TTextureMaterialSource from the list.
- TTextureMaterialSource only adds texture to the cube.
- Add a TLightMaterialSource to the form.
- To specify the color and texture of the material, use the TLightMaterialSource properties.
- In the Object Inspector, using TLightMaterialSource:
- Adjust the Texture property by clicking ellipsis […] >Edit. The Bitmap Editor wizard opens. Click the Load button on the Bitmap Editor to load the wanted texture. After loading the texture, click the OK button on the Bitmap Editor.
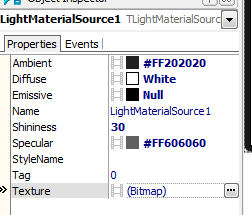
- Ambient, Diffuse, Emissive, and Specular are set by default like in the following image.
- In the Object Inspector, using TLightMaterialSource:
- To specify the color and texture of the material, use the TLightMaterialSource properties.
- Add a TTextureMaterialSource to the form.
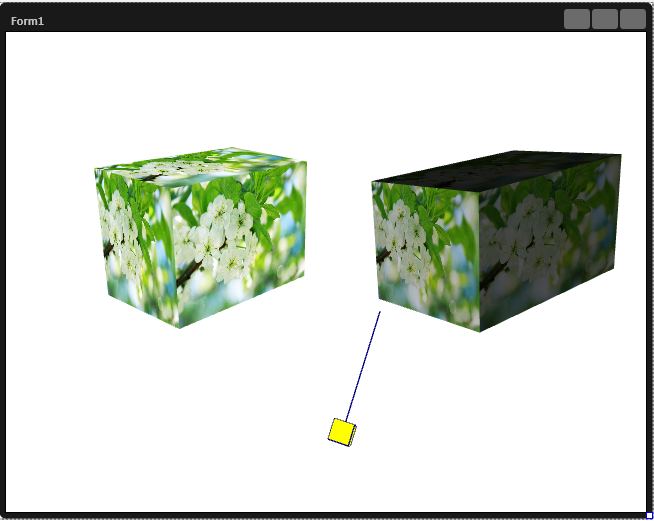
- The result at design time is shown in the following image.
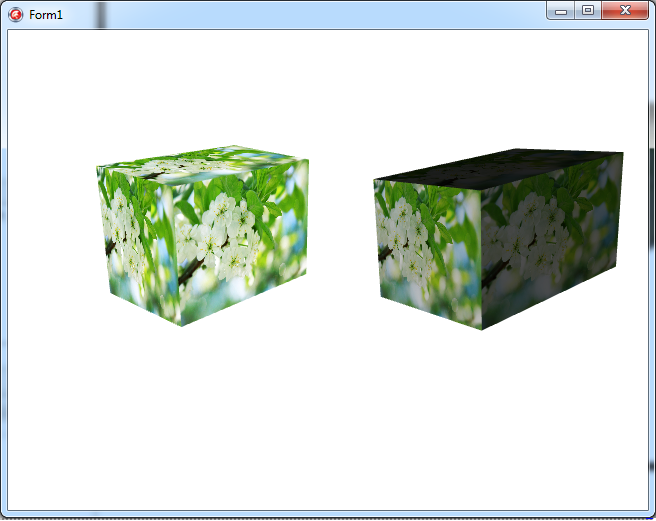
- At this point, you can click F9 to compile, build, and run your first FireMonkey 3D application.
Next
See Also
- Creating a FireMonkey Component (Delphi)
- Creating a FireMonkey Component (C++)
- 3D Multi-Device Application
Samples
- FireMonkey Gyroscope sample
- FireMonkey 3D Arrows sample
- FireMonkey First App3D sample


