RAD Server Installation
Use RAD Server to deploy RAD Studio on Windows servers.
RAD Server Deployment Installation on Windows
To install RADServer on your Windows Operating System, follow the steps:
- Install RAD Studio.
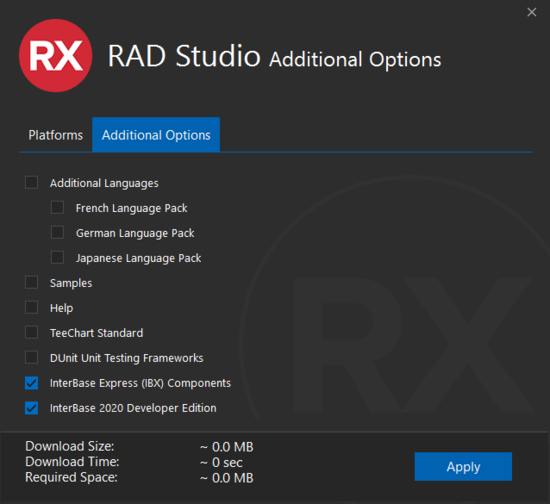
Make sure you install Interbase as an Additional Option in the installer.
- Go to GetIT Package Manager.
Search for RAD Server Installer for Windows 1.0.
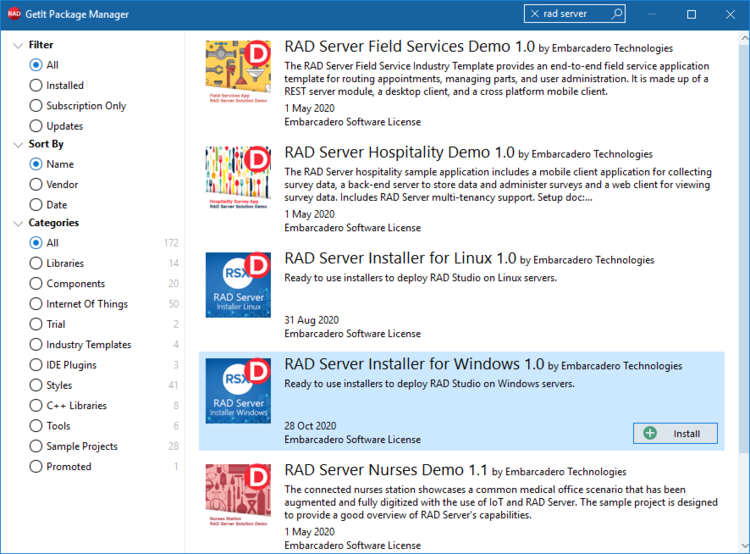
- Select Install.
- Read the license in the Dependencies Licenses window.
- When the installation is complete, Close the window.
- A folder appears where the RADServer installer is downloaded.
- Open the RADServer application.
Note: Close any open programs in your machine when running this installer.
- The RADServer wizard appears.
- Choose the Install Set from typical or custom.

- Select the Architecture.

- Select the Web Server.

- Select the Directory for RADServer.

- Configure the Root Server and Root Console paths.

- Provide the Site Details:
- For IIS, provide the Site Name and Port.
- For Apache, provide the configuration file.
- For IIS, provide the Site Name and Port.
- Review the Pre-Installation Summary.

- Click on Install.
- When installing, the InterBase License request appears.

- Click on Continue.
- The Embarcadero Product Registration window appears.

- Click on Register.
- A window appears requesting your License Information.

- Fill it and click on Register.
- When your license is registered, you see the following window.

- Click on Ok.
- The RADServer wizard completes the installation, click Done.


RAD Server Deployment Installation on Linux
- Go to GetIT Package Manager.
- Search for RAD Server Installer for Linux 1.0.

- Select Install.
- Copy the downloaded .zip file to your Linux machine.
- Extract the files and Open a Terminal window inside the extracted folder.
- Run the following command:
sudo sh ./radserver_install.sh
- Enter your password and click Enter.
- After this, the installer launches and asks you to install Apache. Select Yes and press Enter.

- The next screen lets you select the items you want to install. Click on OK.

- The terminal prompts the License Manager and you have three options to register. Choose the option you prefer and follow the directions.

- After your registration is completed successfully, choose number 5 (quit) and the installation continues.