Customizing the components (IDE Tutorial)
Go Up to Starting your first RAD Studio application Index (IDE Tutorial)
In the previous section, Adding the components using the Form Designer, you have added all the required components to your form and then configured the action manager. Before you continue with writing code for the event handlers, you need to customize the properties of the newly-placed components.
To customize a component, select the target component (either in the Form Designer, in the Structure view or in the drop-down list at the top of the Object Inspector), and then edit the properties of the selected component in the Object Inspector.
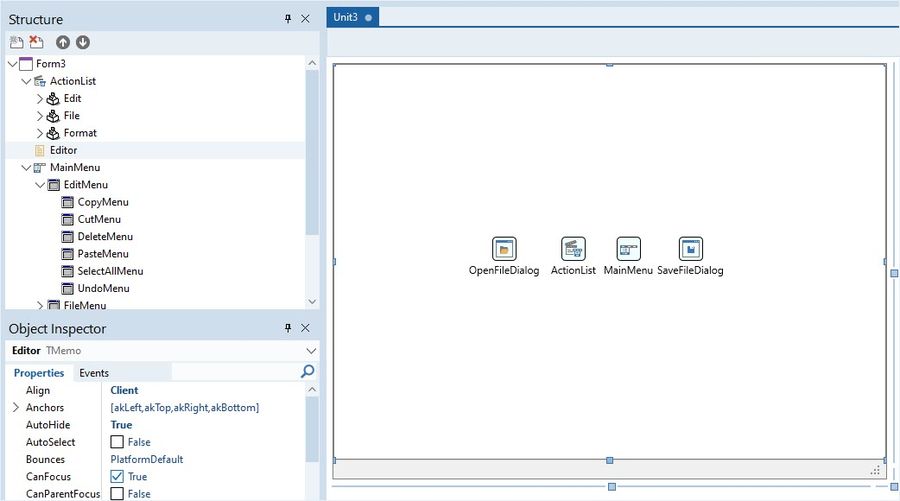
The memo component should occupy all the free space available on the form. In order to configure the memo component:
- Select the memo component (for example, in the Structure view).
- In the Object Inspector, set the Align property to
Client.
You must customize the status bar as well, adding labels to it that you can later fill with information.
- On the Tool Palette, locate TLabel in the Standard category and double-click this component entry three times to add three labels to your form.
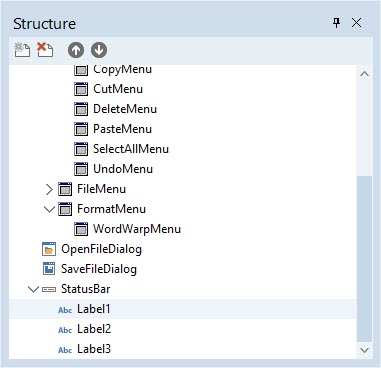
- From the Structure view, drag each label onto your status bar component, so that your labels become children of StatusBar.
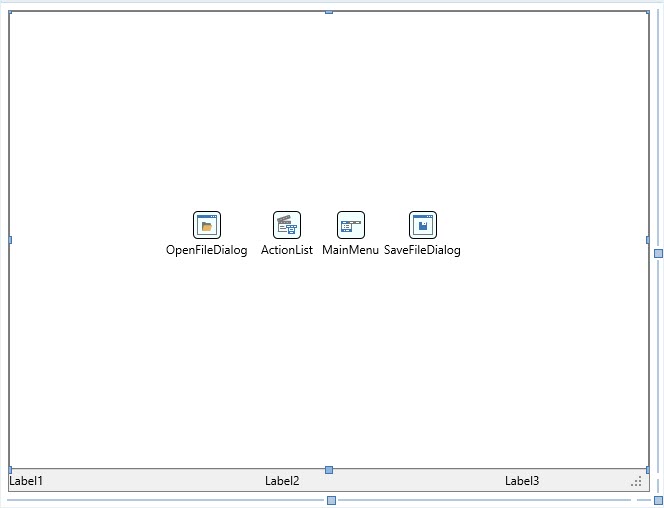
- In the Form Designer, organize your labels inside the status bar so that they appear one after another and do not overlap:
- Select each of the three labels one by one, and use the Object Inspector to set the Name properties of Label1, Label2, and Label3, respectively, to the following values:
LineNumberColumnNumberLineCount
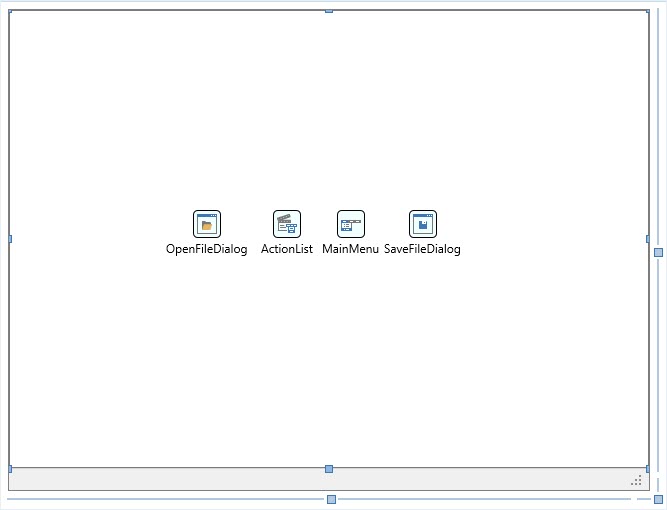
- Clear the Text properties of the three labels.
You should also reorganize your nonvisual components in your form so that they do not overlap with each other. The position in which you place nonvisual components does not affect the appearance or the behavior of your application, but it makes it easier to select these components on the Form Designer later.
This completes customizing your components, you can now continue to the next part of this tutorial.


