Creating the Application and Placing the Visual Objects
Go Up to Tutorial: Using LiveBinding in VCL Applications
To begin this tutorial, you have to create a new project. Choose VCL Forms Application. Change the name of the form you want to use as the main form to Main. Now you can start adding the required visual components to the newly created blank form.
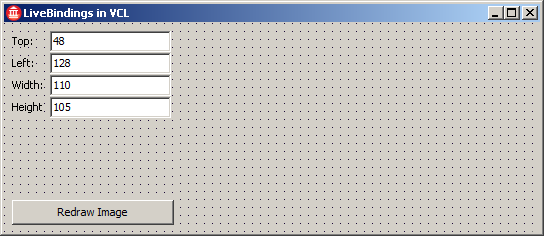
Drop a button on the form. Leave its name as Button1, but change its caption to Redraw Image. This button will be used to refresh your dynamic image. Then drag and drop 4 labels with the Top, Left, Width, and Height captions. Then drag and drop 4 edit controls and name them using the following naming convention: edtTop, edtLeft, edtWidth, and edtHeight.
From the Object Inspector, set the value of the edit controls as follows:
- edtTop.
Text: 48 - edtLeft.
Text: 128 - edtWidth.
Text: 110 - edtHeight.
Text: 105
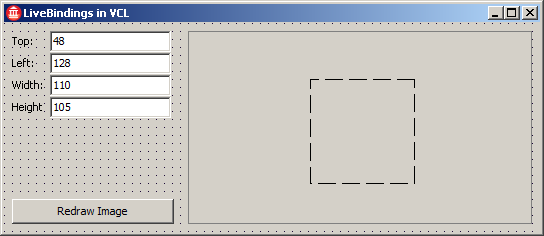
Next, add a panel and set its dimensions to:
- Panel1.
Width: 344 - Panel1.
Height: 193
Then place an image inside the panel. Leave their names as defaults (Panel1 and Image1).
At this point, the image is empty. To make things more interesting, the image will be generated dynamically every time its width or height changes. For this to happen, the following code must be added to the form into the public section of the form class.
  public
    { Public declarations }
    procedure RedrawImage;
  end;
	/* other main form declarations */
public:	// User declarations
	void __fastcall RedrawImage(void);
};
And add the implementation of the RedrawImage procedure as follows.
procedure TMain.RedrawImage;
var
  I, J: Integer;
  Bitmap: TBitmap;

begin
  { create a bitmap picture in the memory }
  Bitmap := TBitmap.Create;

  { use the dimensions of the Image1 control }
  Bitmap.Width := Image1.Width;
  Bitmap.Height := Image1.Height;

  { dynamically render a color spectrum }
  for I := 0 to Bitmap.Width do
    for J := 0 to Bitmap.Height do
      Bitmap.Canvas.Pixels[I, J] := RGB(I, J, 128);

  { assign the bitmap to Image1 }
  Image1.Picture.Bitmap := Bitmap;

  { free up used memory }
  Bitmap.Free;
end;
void __fastcall TMain::RedrawImage(void)
{
	int I, J;
	TBitmap *Bitmap;

	/* create a bitmap picture in the memory */
	Bitmap = new TBitmap();

	/* use the dimensions of the Image1 control */
	Bitmap->Width = Image1->Width;
	Bitmap->Height = Image1->Height;

	/* dynamically render a color spectrum */
	for (I = 0; I <= Bitmap->Width; I++) {
		for (J = 0; J <= Bitmap->Height; J++) {
			Bitmap->Canvas->Pixels[I][J] = RGB(I, J, 128);
		}
		}

	/* assign the bitmap to Image1 */
	Image1->Picture->Bitmap = Bitmap;

	/* free up used memory */
	Bitmap->Free();
}
For the picture to be rendered when the Application is executed the first time, implement the FormCreate event (double-click in the form in the IDE), as follows.
procedure TMain.FormCreate(Sender: TObject);
begin
  RedrawImage;
end;
void __fastcall TMain::FormCreate(TObject *Sender)
{
	RedrawImage();
}
Now implement the button's OnClick event as follows.
procedure TMain.Button1Click(Sender: TObject);
begin
  RedrawImage;
end;
void __fastcall TMain::Button1Click(TObject *Sender)
{
	RedrawImage();
}
The following section of this tutorial describes how to bind the four edit controls to the dimension-related and position-related properties of the image control.

