Creating Your First FireMonkey Application for Desktop Platforms
Go Up to FireMonkey Quick Start Guide - Tutorials - My First FireMonkey Application
Contents
- 1 Step 1: Create a New Blank Application
- 2 Step 2: Place Components on the FireMonkey HD Form
- 3 Step 3: Write a Response in Delphi Code When a User Clicks a Button
- 4 Step 4: Execute the Application
- 5 Step 5: Supporting 64-bit Versions of Windows
- 6 Step 6: Add macOS as a Target
- 7 Step 7: Run the Application on macOS
In this tutorial, you will create a FireMonkey application that works on different platforms (Windows and macOS) and uses the following user interface elements:
- A Text field to enter a name.
- A button to click to say “Hello”.
- A label to display the message “Hello + <your name>!”.
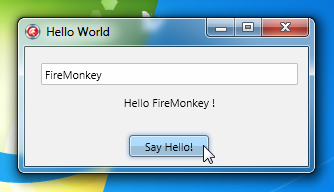
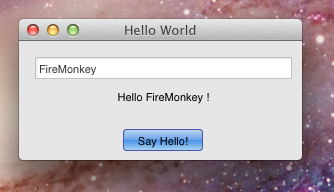
Your first FireMonkey application will appear as in the screenshots below, for Windows and macOS:
| FireMonkey Application on Windows | FireMonkey App on macOS |
|---|---|
Step 1: Create a New Blank Application
The File menu in the RAD Studio IDE allows you to create a new FireMonkey application. To create a new Blank Application, select either:
- File > New > Other > C++Builder Projects > Multi-Device Application
- File > New > Other > Delphi Projects > Multi-Device Application
Then select Blank Application and click OK.
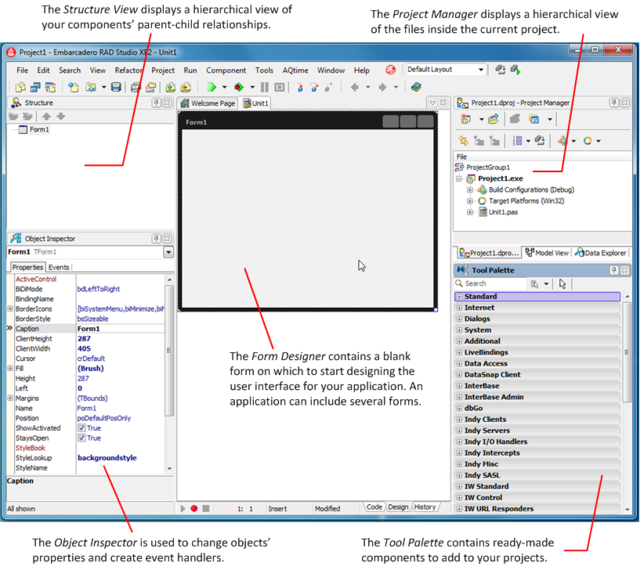
Below is a screenshot of the IDE that shows the 5 different panes that you can dock, undock, or close, as you like.
The 5 panes are:
Step 2: Place Components on the FireMonkey HD Form
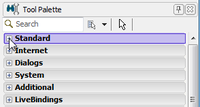
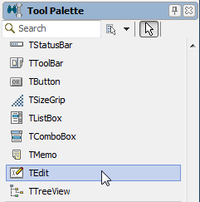
The first step in creating a FireMonkey application is designing the user interface. There are hundreds of reusable components available in the IDE for creating user interfaces. Move your cursor over the Tool Palette and expand the Standard category by clicking the plus (+) icon. Then select the TEdit component and drop it onto the Form Designer. An instance of the TEdit component will be displayed on the form.
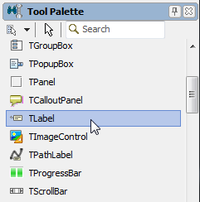
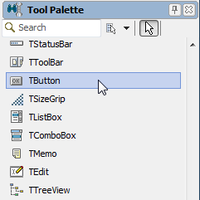
Repeat these steps for adding the TLabel and TButton components onto the form. Now you should see three components on the Form Designer.
Use your mouse to rearrange the components on the Form Designer as you like.
You can view and change a component’s properties using the Object Inspector after selecting the component on the form.
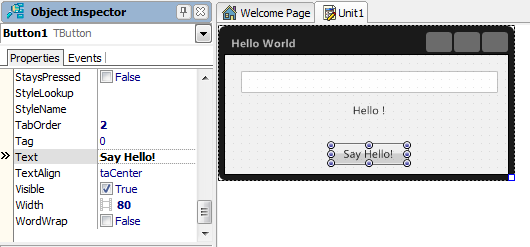
Next, visually change the button caption for the TButton component. We will change the TEdit and TLabel properties programmatically by entering some code, as described in Step 3 below.
To change the TButton property as shown in the screenshot above, select the TButton component on the form and change the Text property in the Object Inspector to "Say Hello", and then press Enter to apply the change.
Step 3: Write a Response in Delphi Code When a User Clicks a Button
For GUI applications, most of the responses to users’ actions such as button clicks and text field entries can be implemented as a response to an event. In RAD Studio, such responses are referred to as event handlers.
For the TButton component, the most typical event is a button click. When you double-click the button on the Form Designer, RAD Studio creates skeleton code to implement an event handler for the button click event.
Now you can implement responses between the 'begin' and 'end' statements of the Button1Click method. Let’s implement a response to show a small dialog that says "Hello + <name entered into the edit box>".
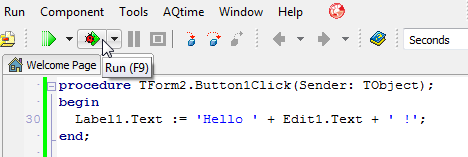
Label1.Text := 'Hello ' + Edit1.Text + ' !';
In Delphi, the quotation marks that must surround string literals are ' '. You can also use the plus (+) sign to concatenate strings.
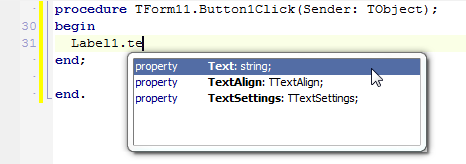
While you are typing code, some hints indicating the kind of parameter you need to specify will appear. Also, hints will indicate the kinds of members that are supported in a given class.
Step 4: Execute the Application
The implementation of this application is finished, so you can run it. You can click the Run button in the IDE, press F9, or select Run > Run from the RAD Studio main menu.
Once you have executed the application, a form with an edit box and a button will be displayed. Enter text into the edit box, and click the Say Hello button.
Step 5: Supporting 64-bit Versions of Windows
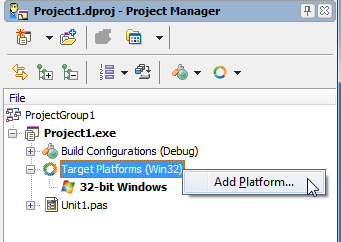
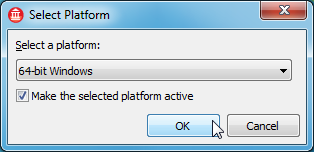
By default, RAD Studio creates applications that target 32-bit versions of the Windows operating system. To add x64 versions of Windows as a target platform, select the Target Platforms node in the Project Manager and select Add Platform > 64-bit Windows. Now your project can be built for both Win32 and Win64 platforms. Also, you can just press F9 to execute your Win64 application.
- Note: If your RAD Studio installation is running on a x86 (Win32) edition of Windows, you can still create applications targeting Windows 64-bit. However, you cannot run them on your desktop because your version of Windows only supports 32-bit applications. You can deploy your applications to another 64-bit system, and debug them from your IDE on 32-bit Windows using PAServer (remote debugging).
Step 6: Add macOS as a Target
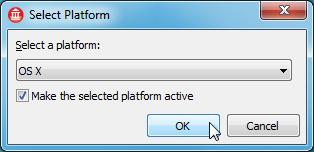
You can add Max macOS 32 or 64-bit as a target platform the same way you added Windows 64-bit. To add macOS as a target platform, right-click the Target Platforms node in the Project Manager and select Add Platform > macOS.
- Note: Your development environment is on Windows. This means that you cannot run native macOS applications on your Windows machine. You need to connect your IDE to an macOS machine.
To deploy your application to macOS and establish remote debug sessions automatically, RAD Studio provides a tool called Platform Assistant (PAServer).
- Tutorial: Installing PAServer describes the steps to install PAServer on your macOS.
Define a Connection Profile
After you install PAServer on your macOS machine, you can connect your IDE with your Mac, as follows:
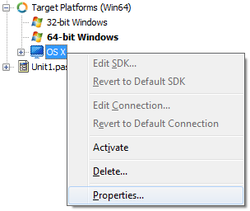
- Right-click the macOS node under Target Platforms in the Project Manager, and select Properties.
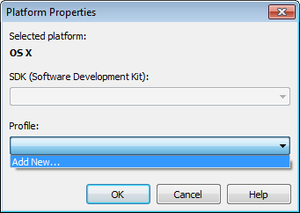
- Select Add New… from the Profile combo box on the Platform Properties dialog box.
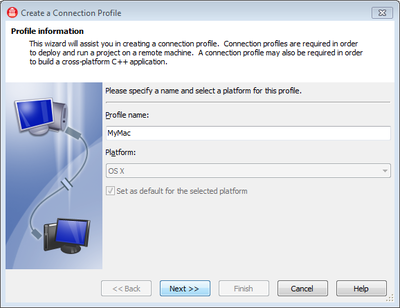
- Enter a name for this profile.
- Specify the name of your Mac (or IP address).
Step 7: Run the Application on macOS
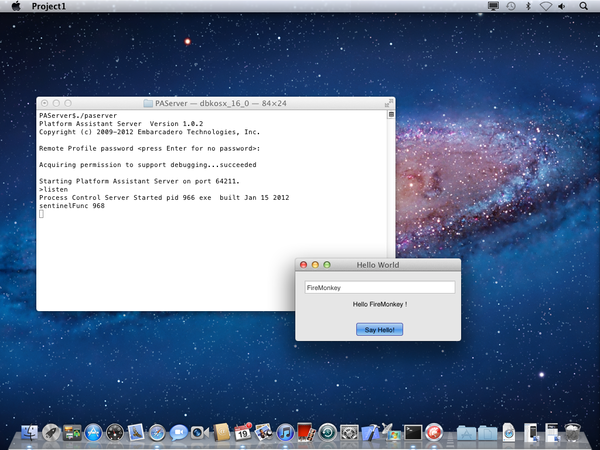
Now your IDE is connected to your Mac. Press F9 again to run your application on your Mac. Your application should look similar to the one shown in the following image.
