Using Styles for iOS: Multi-Resolution Styles, and the Black and Transparent Styles
Go Up to Creating an iOS App
Contents
This topic describes how to use the Black and Transparent FireMonkey styles for iOS devices of every screen resolution (Retina or non-Retina).
Using the Multi-Resolution FireMonkey iOS Styles
For iOS we include user interface styles inside the IDE that are automatically bundled into your compiled application. In addition, you can find iOSBlack.fsf and iOSTransparent.fsf themed styles in the \styles\iOS folder that is installed with the product:
C:\Users\Public\Documents\Embarcadero\Studio\23.0\Styles\iOS
You can load these styles and apply them to your application by using the TStyleBook component. These styles are available only for iOS. The styles automatically support the current screen resolutions (that is, 1x or 2x) without any code or IDE changes on your part.
On iPhone/iPad, for iOSBlack.fsf and iOSTransparent.fsf styles, either the non-Retina (1x), Retina (2x) or Retina HD (3x) style is loaded, depending on the device. For example, an app running on iPhone 6 has the Retina (2x) resolution, and Retina HD (3x) resolution on iPhone 6 Plus respectively.
Gray Default Style for iOS Applications
For iOS applications, the default style is the Gray style for iPhone/iPad apps.
The different styles are used at design time when you set the current target platform (in the Projects Window) and the design-time device (in the Form Designer).
On some specific iPhone devices, at design time, you may see a Blue style. However, at run time, you always see the Gray style.
The following steps demonstrate the run-time difference in the same Tabbed Multi-Device Application when run on iPad and on iPhone:
- Create a new application by selecting either File > New > Multi-Device Application - Delphi or File > New > Multi-Device Application - C++Builder.
- Choose Tabbed Multi-Device Application type.
- Set iOS Simulator (iPhone) as the target platform in the Project Manager.
- On the iOS Simulator, select Hardware > Device > iPhone.
- Run the app on the iOS Simulator.
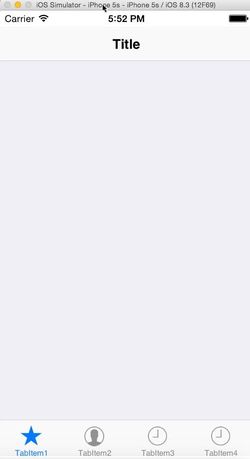
- Gray Style: Tabbed Multi-Device Application on iPhone
- Set iOS Simulator (iPad) as the target platform in the Project Manager.
- On the iOS Simulator, select Hardware > Device > iPad.
- Run the project on the iOS Simulator.
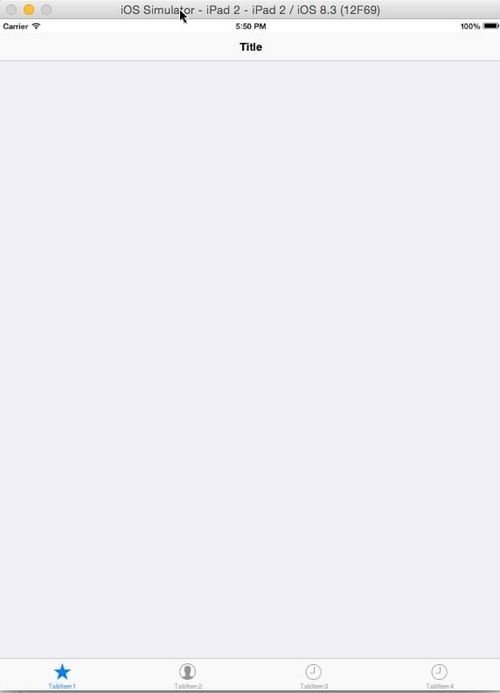
- Gray Style: Tabbed Multi-Device Application on iPad


See Also
- Working with Native and Custom FireMonkey Styles
- Applying FireMonkey Styles
- Customizing FireMonkey Applications with Styles
- Using Styles Defined by Components in Design-Time Packages Installed in the IDE
- Form Designer
- Creating an iOS App
- FireMonkey
- FireMonkey 3D Overview
- MacOS Application Development