Server Web Hello World
In this tutorial, you will create a server web application that uses the following user interface controls:
- A text field to enter a name.
- A label to display a message.
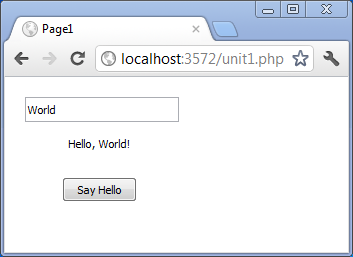
- A button that, when clicked, will fill the label with the message “Hello, <name>!”, where <name> will be the name entered in the text field.
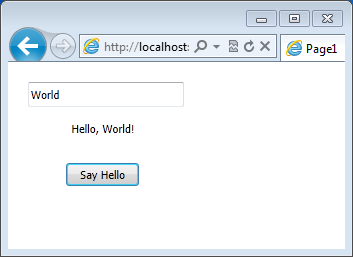
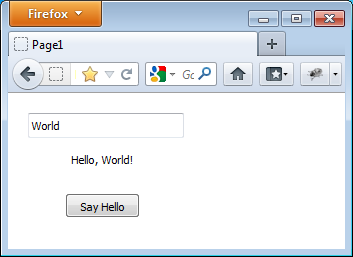
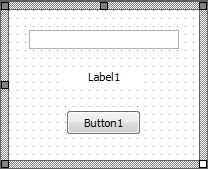
It will look like this:
Contents
Create a New Application
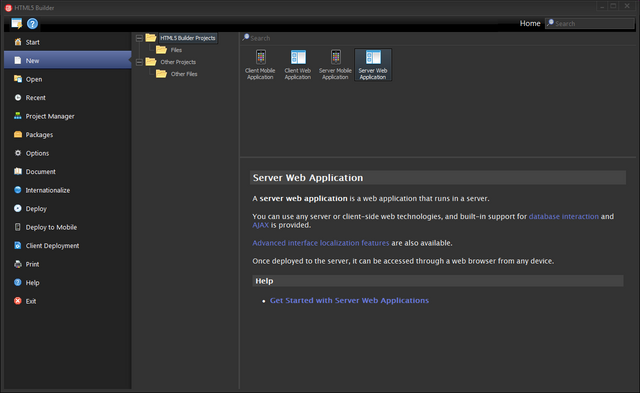
You can create new files and projects from the New page in the Home view. In the left-side treeview, select HTML5 Builder Projects, and then double-click Server Web Application in the top-right area.
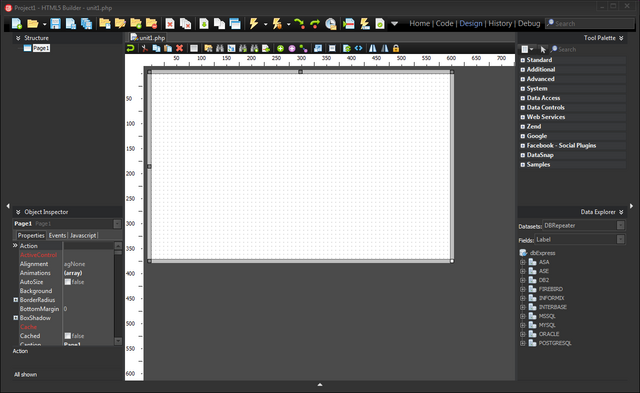
For your new application, an initial (empty) server page will be created, and opened in the Design view.
The central area of the Design view will be occupied by the Designer, a graphical webpage edition tool. You will also note different widgets at the left, right and bottom sides of the Designer. Those are covered in detail in other pages of the documentation, and we will work with some of them in this tutorial.
Add Some Controls
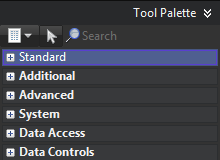
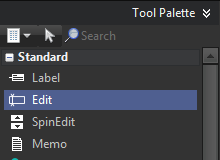
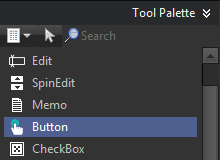
The first step in creating a server web application with HTML5 Builder is designing the user interface. There are many components available by default for creating user interfaces. Move your cursor over to the Tool Palette (the widget in the top-right corner) and expand the Standard category by clicking the plus (+) icon. Then select the Edit component and drop it onto the Designer. An instance of the component will be displayed on the Designer.
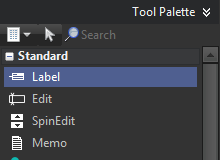
Repeat these steps for adding the Label and Button components onto the Designer.
Now you should see three components on the Designer. Use the mouse pointer to rearrange the components as you like.
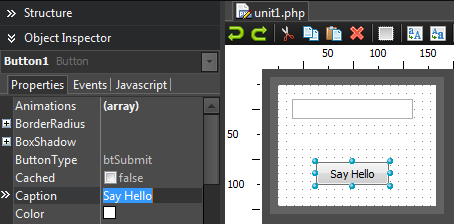
You can view and change a component’s properties using the Object Inspector and selecting the component on the Designer.
Next, visually change the Caption for the Button component. You can leave the Label’s Caption and Edit’s Text properties empty, since the former will be defined programatically, and the latter will be entered by the users.
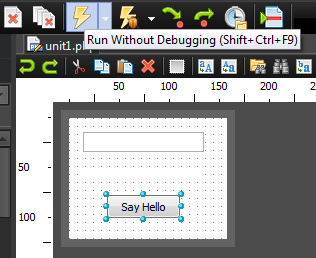
To change a property of a component, select the component on the Designer (or the drop-down list in the top of the Object Inspector), change the value of the target property and press Enter to apply the change. In the screenshot above, Button’s Caption property was changed to "Say Hello".
Write a Response for a Button Click
For web applications, any response to users’ actions such as button clicks and text field entries can be implemented as a response to an event. In HTML5 Builder, such responses are referred to as event handlers.
For the Button component, the most typical event is a button click. When you double-click the button on the Designer, HTML5 Builder creates skeleton code to implement an event handler for the button click event.
Now you can implement responses between the braces. Let’s implement a response to show a message in the Label: “Hello, <name entered in the Edit>!”.
$this->Label1->Caption = "Hello, ".$this->Edit1->Text."!";
In PHP, the quotation marks that must surround string literals are " ". You can also use the dot (.) sign to concatenate strings.
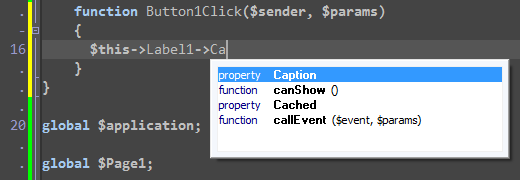
While you are typing code, some hints indicating the kind of parameter you need to specify will appear. Also, hints will indicate the kinds of members that are supported in a given object, that is, the properties and methods of your components.
Execute your Application
The implementation of this application is finished, so you can run it: click the Run button in the main toolbar or press F9.
Once you have executed the application, the page with an Edit and a Button will be loaded on your default web browser. Enter text in the Edit and click the Say Hello button.
